
We’ve done a lot of product image cutouts over the years. Cutting out a product image in Photoshop is a key skill. The tools have improved and AI will catch up, but until then, here’s our photoshop method.
Table of Contents
The intention is to create, wherever possible, an isolated image of a single product – a “pack shot”. Where background shadow is present and not too intrusive – a lightened version should remain.
These instructions are only for images where the product sits on a (more-or-less) white background.
Picking an Image Format
For the target website we normally produce square images. In this instance, we’re dealing with WooCommerce (for WordPress)
Ideally, dimensions would be 1500px x 1500px. However, if the source image is smaller (for example if it came from another website) do not be tempted to scale the image up – this will result in the image becoming distorted and blurred. If the image is too small to look good when ‘zoomed’ WordPress will not present that as an option.
WordPress automatically creates several images for use on different screen sizes. This large image is only loaded when you hover over it or zoom in.
Wherever possible, all pixels running around the outside edge of an image should be pure white.
Photoshop
Photoshop is a heavyweight tool and it is very complicated. These instructions attempt to make it as simple as possible.
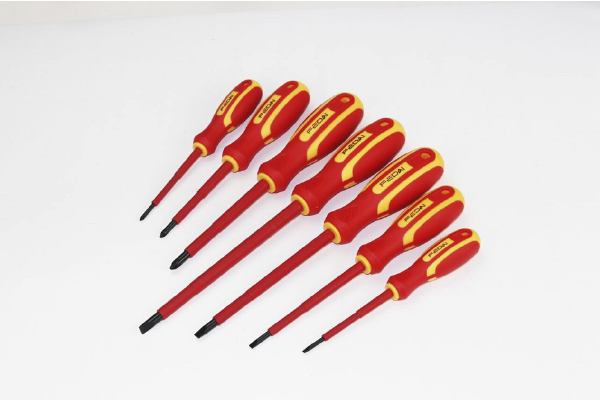
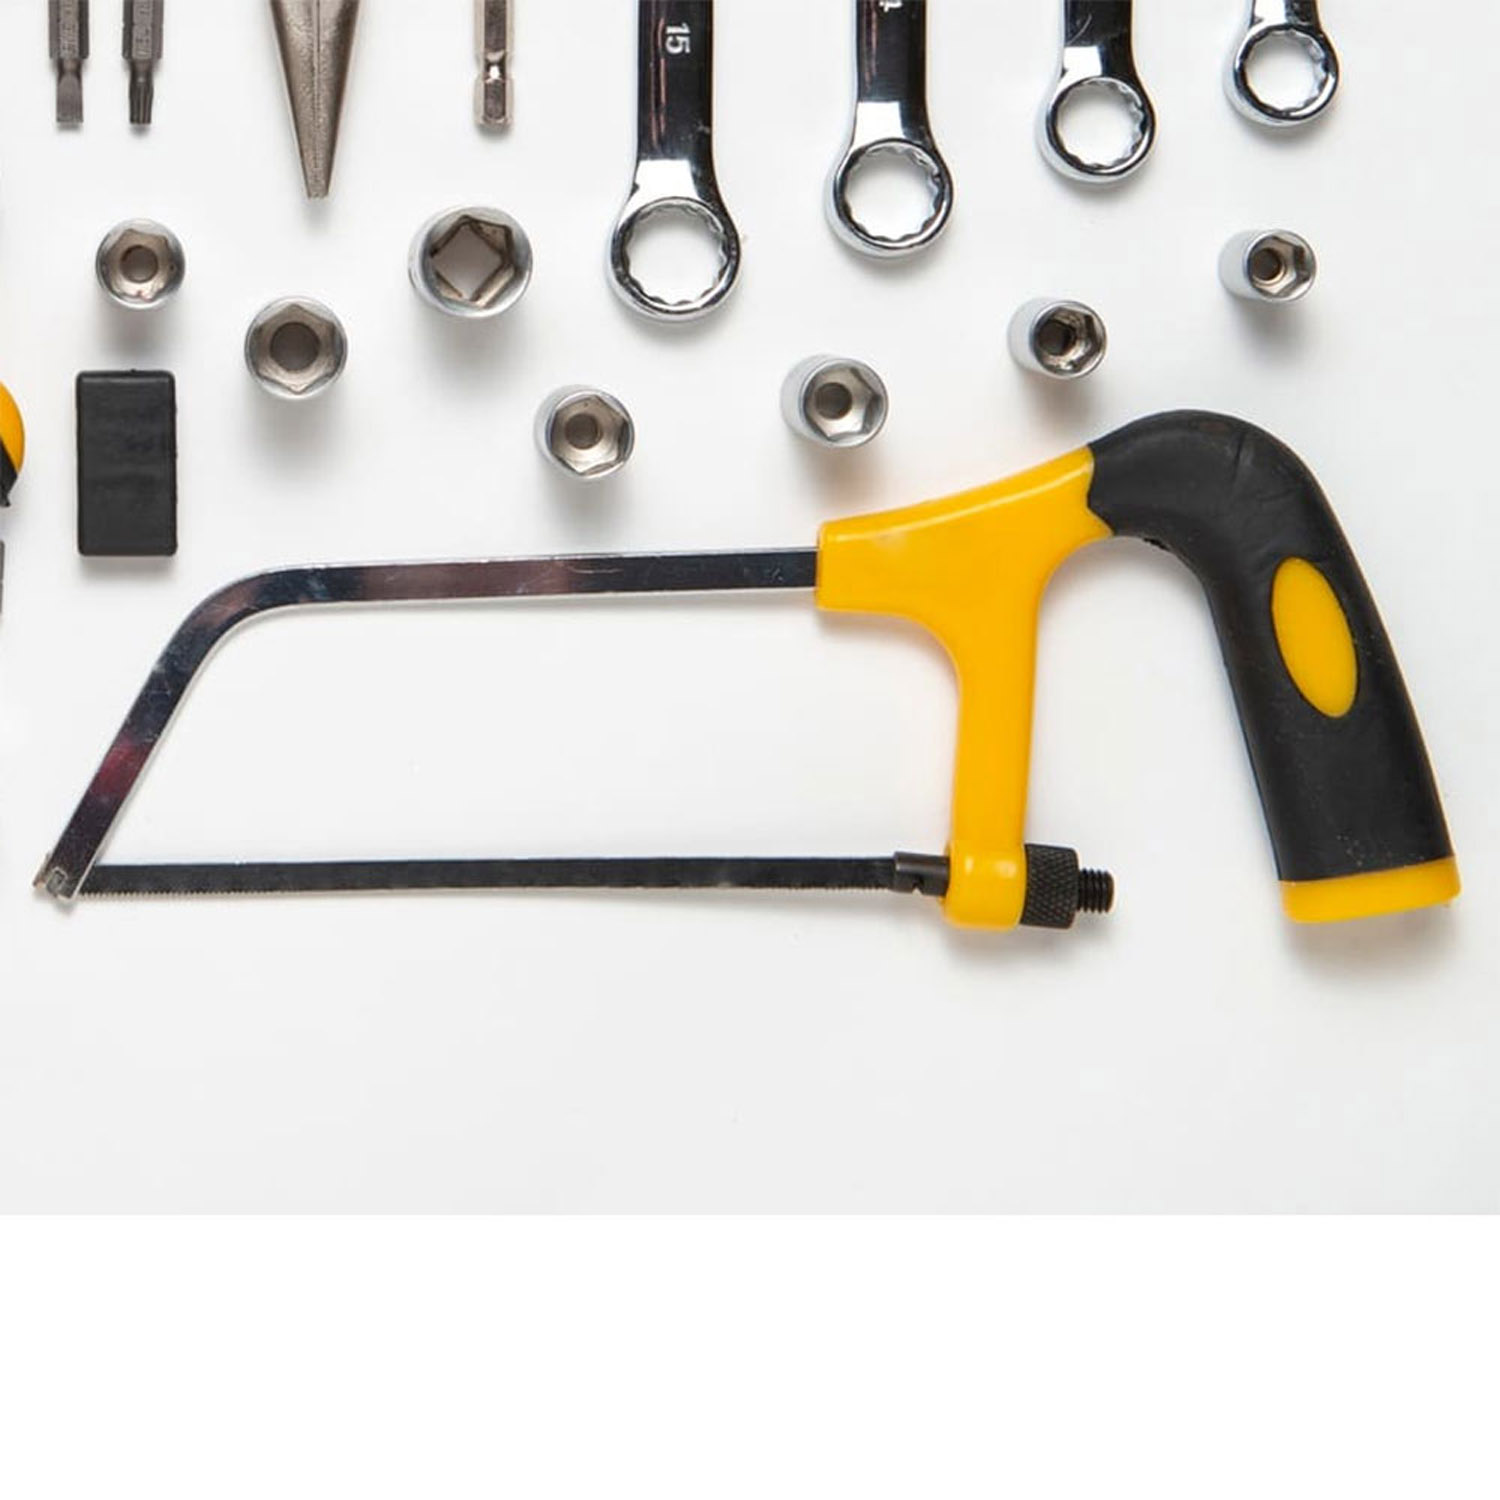
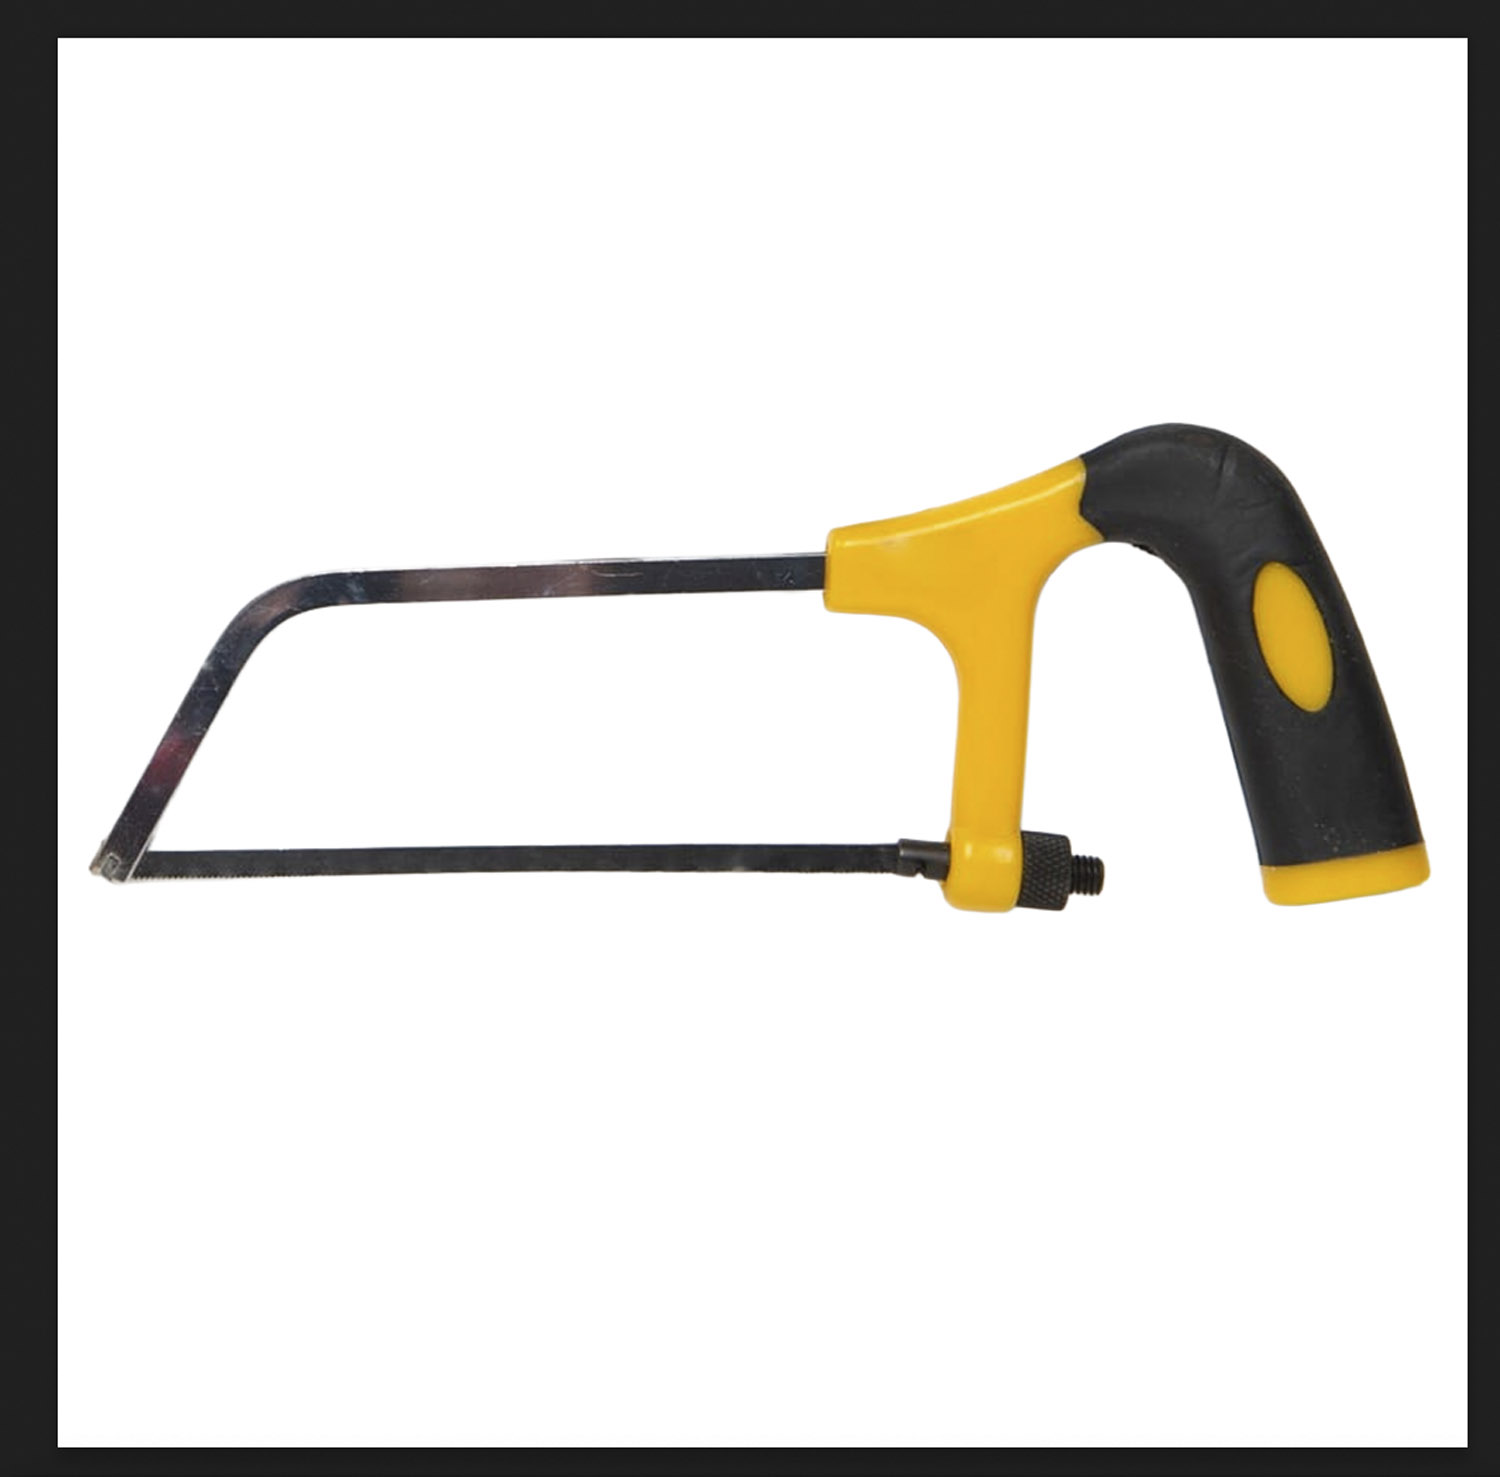
As yet, we have not found an AI tool which will convert an image like the one below into a suitable product image – some human input is inevitable.
But with practice, this process can be brought down to a few minutes per image.
The Instructions
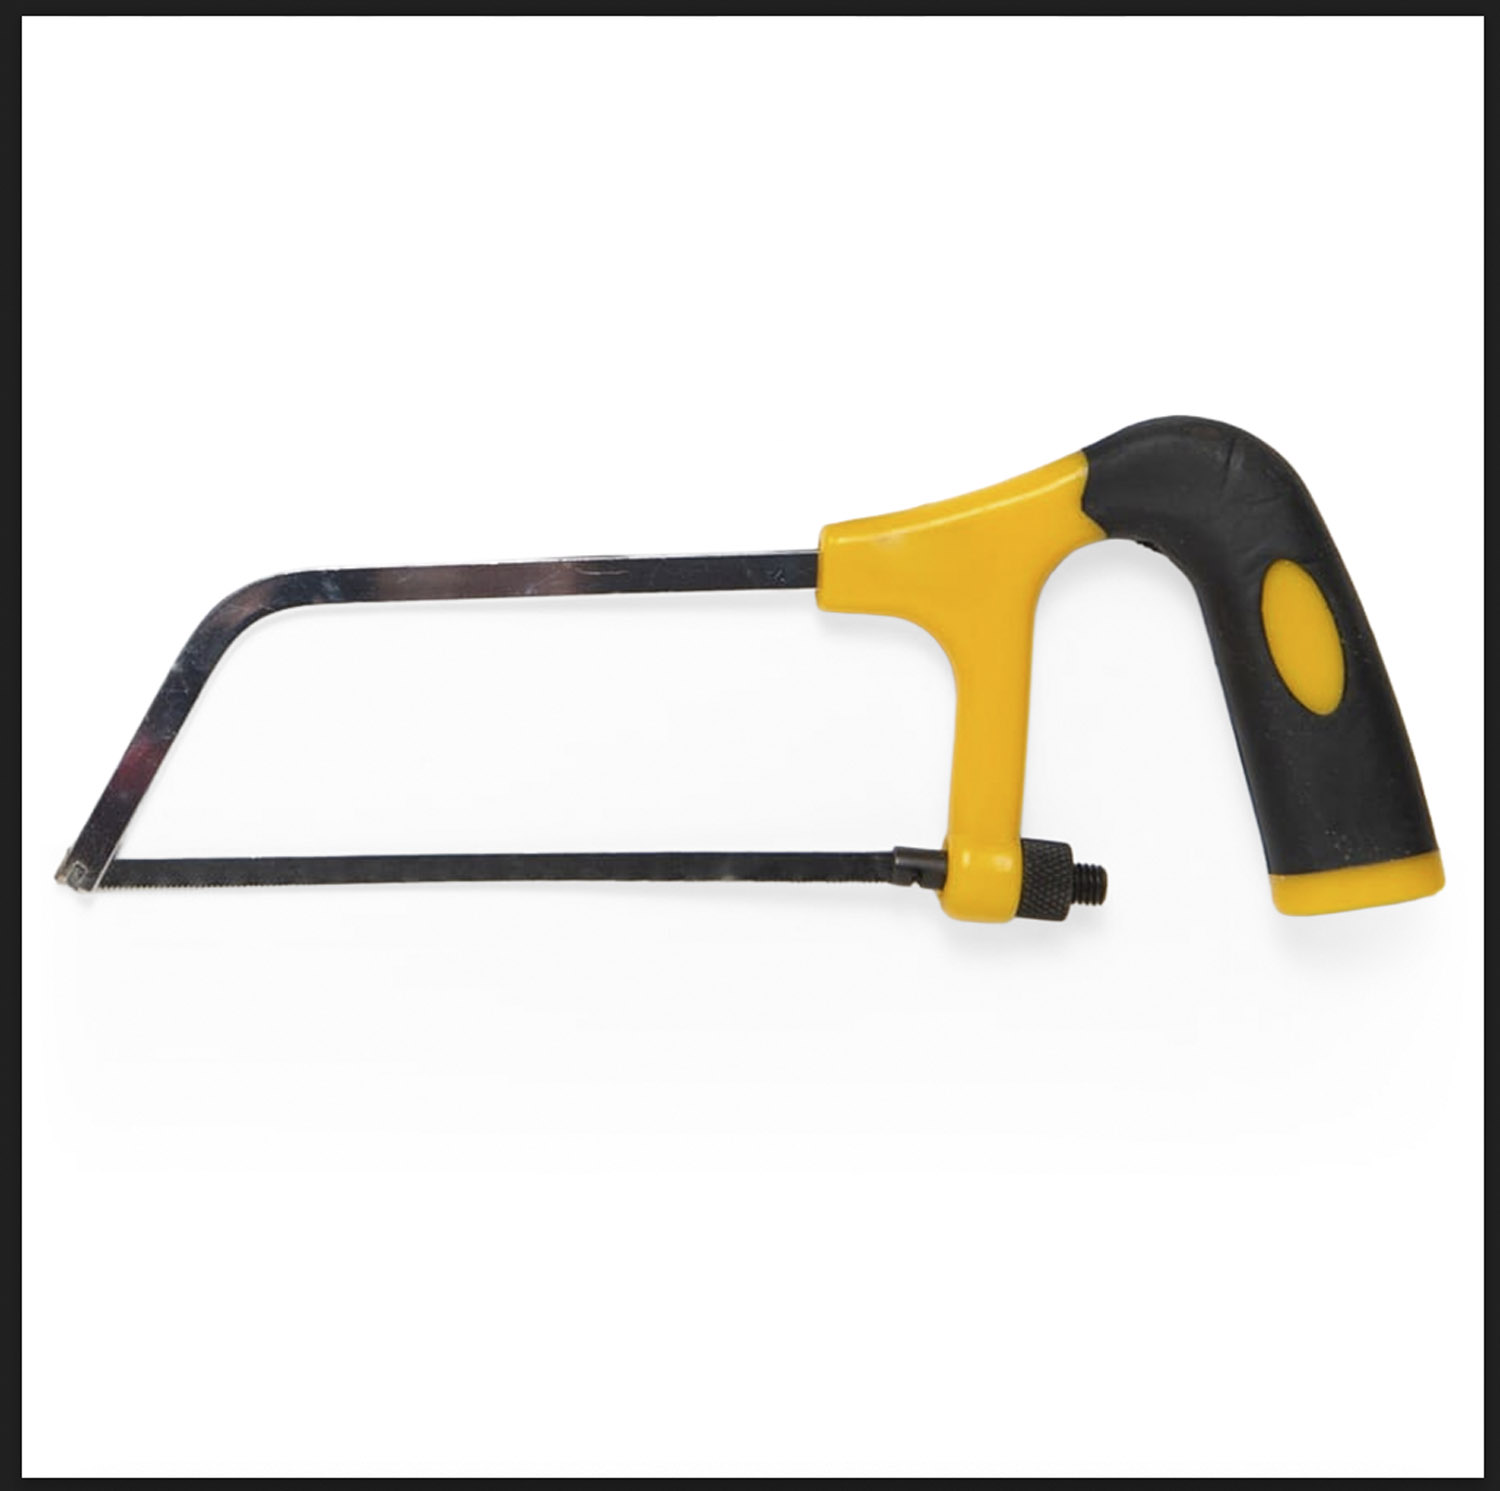
For these instructions, we will be taking the hacksaw from the bottom-right of this image.

Open The Image in Photoshop
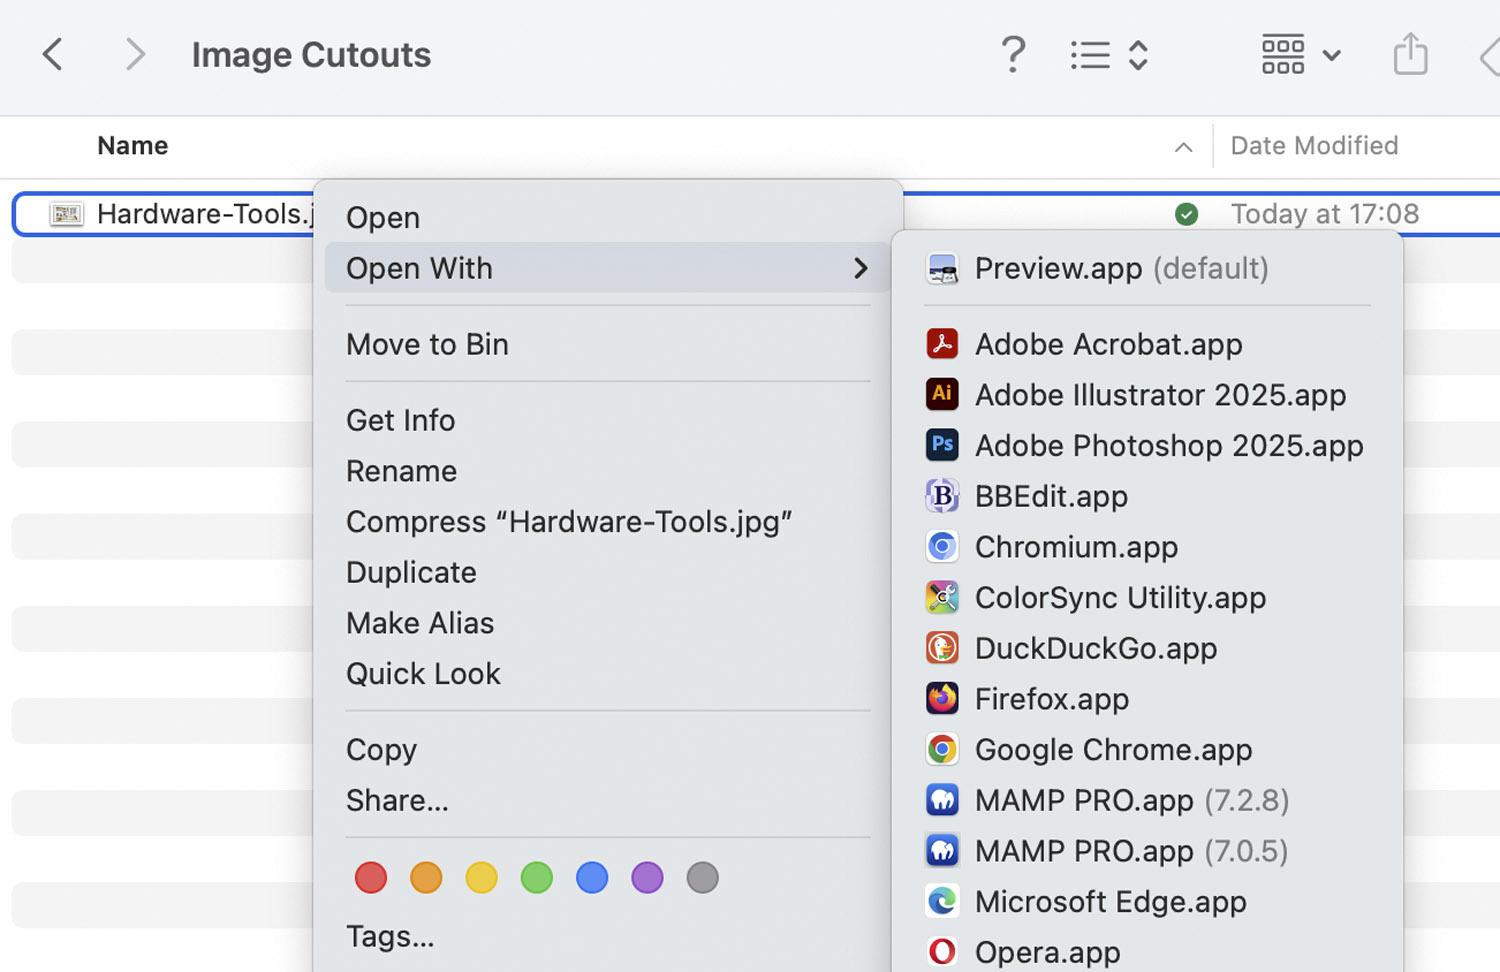
On both a Mac and a PC, if Photoshop is installed, you can open an image using a right mouse click on the image file in the Finder/Explorer.
Cropping the Image
Before you crop the image, you need to know what the base image size will be – if possible, you want to avoid ‘upsampling’ – that is, scaling the image up.
If the image is straight from a photographer or off a phone – it will be amply big enough. If it’s from another website or part of a bigger image, it may not be.
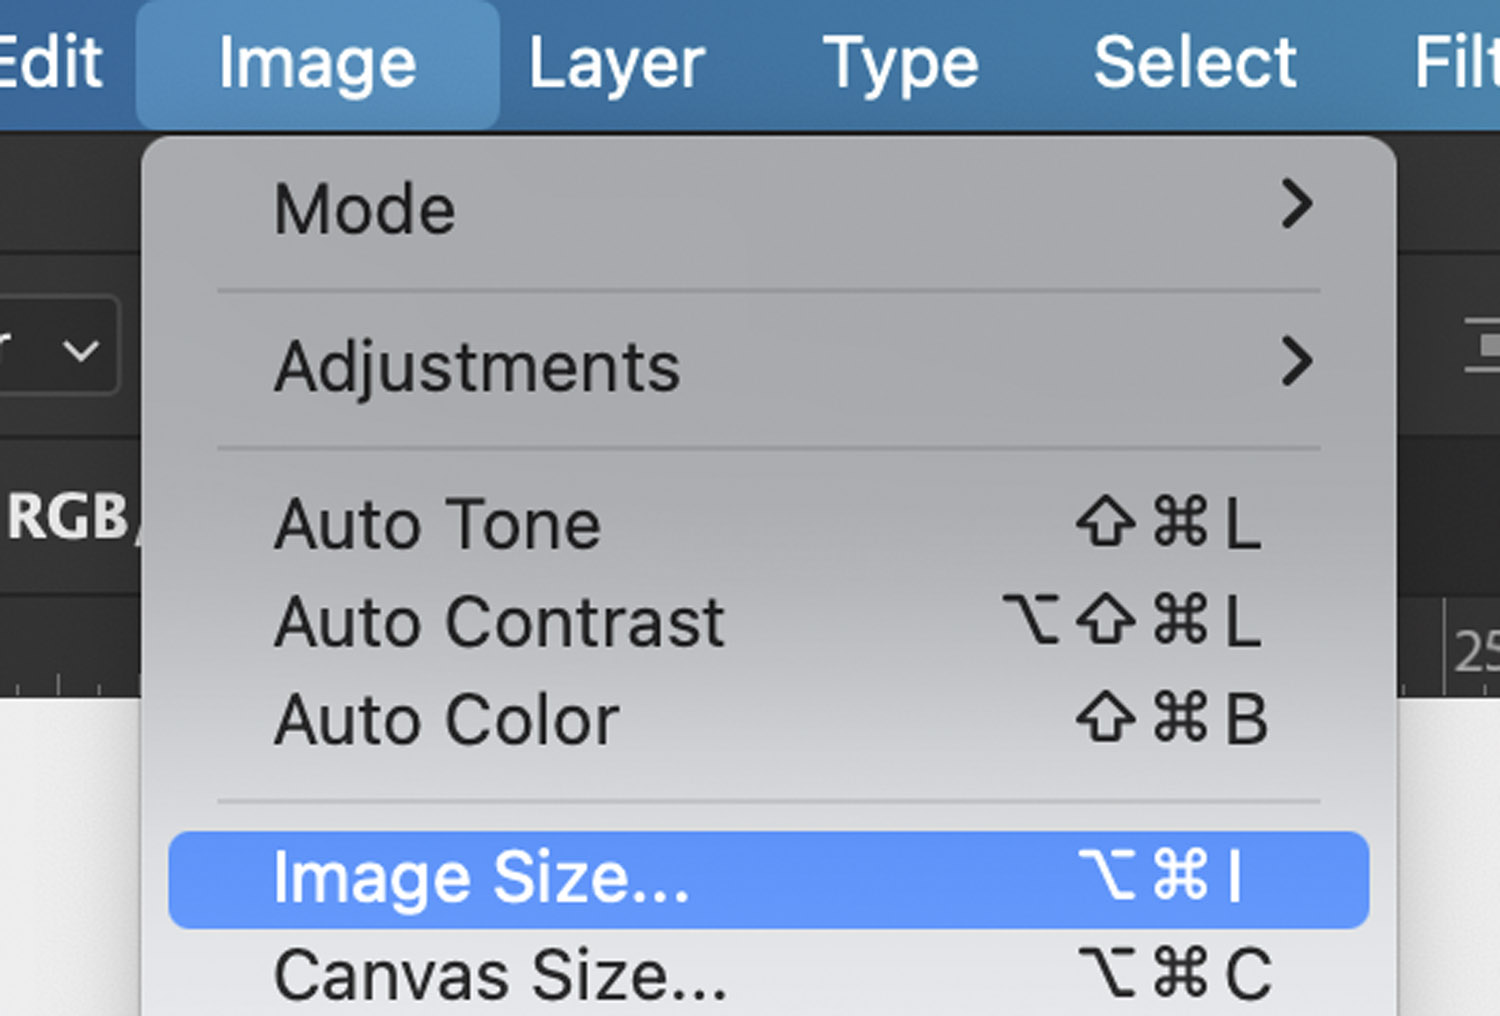
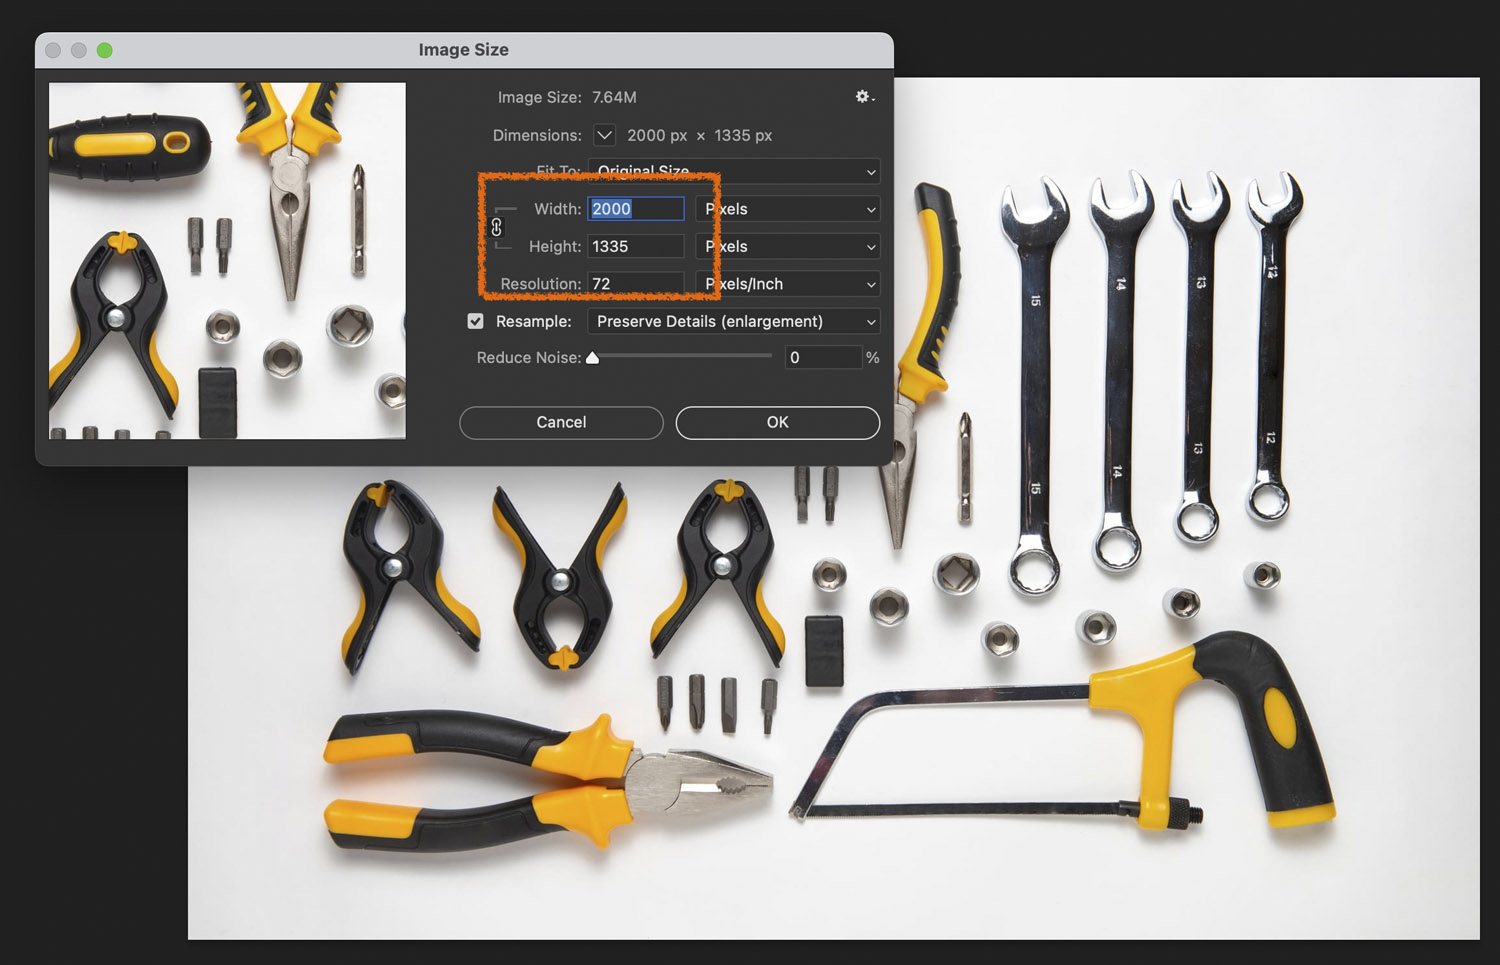
To quickest way to find the image size is the Image Size dialogue from the Image menu:
In this instance, the saw is about half of a 2000 pixel wide image so we do not want to make the cropped image more than 1000 pixels across.
Before you crop:
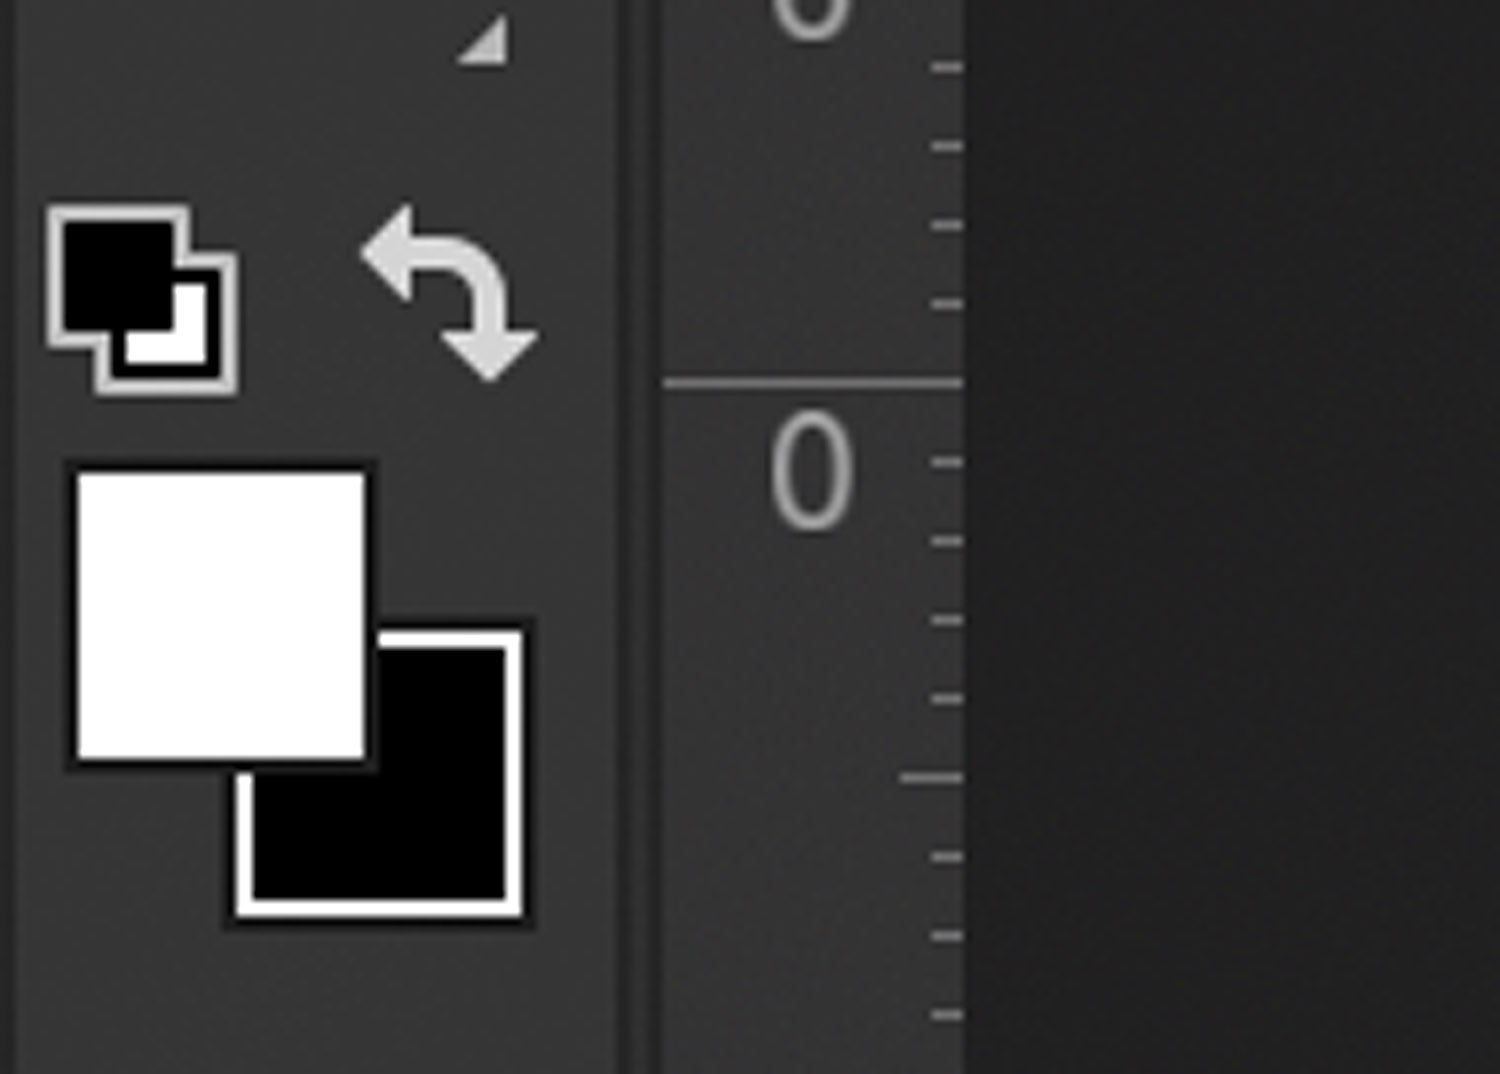
- Set the page background to be white (hitting the ‘d’ key will do this) or the tiny icon, top left in this widget.
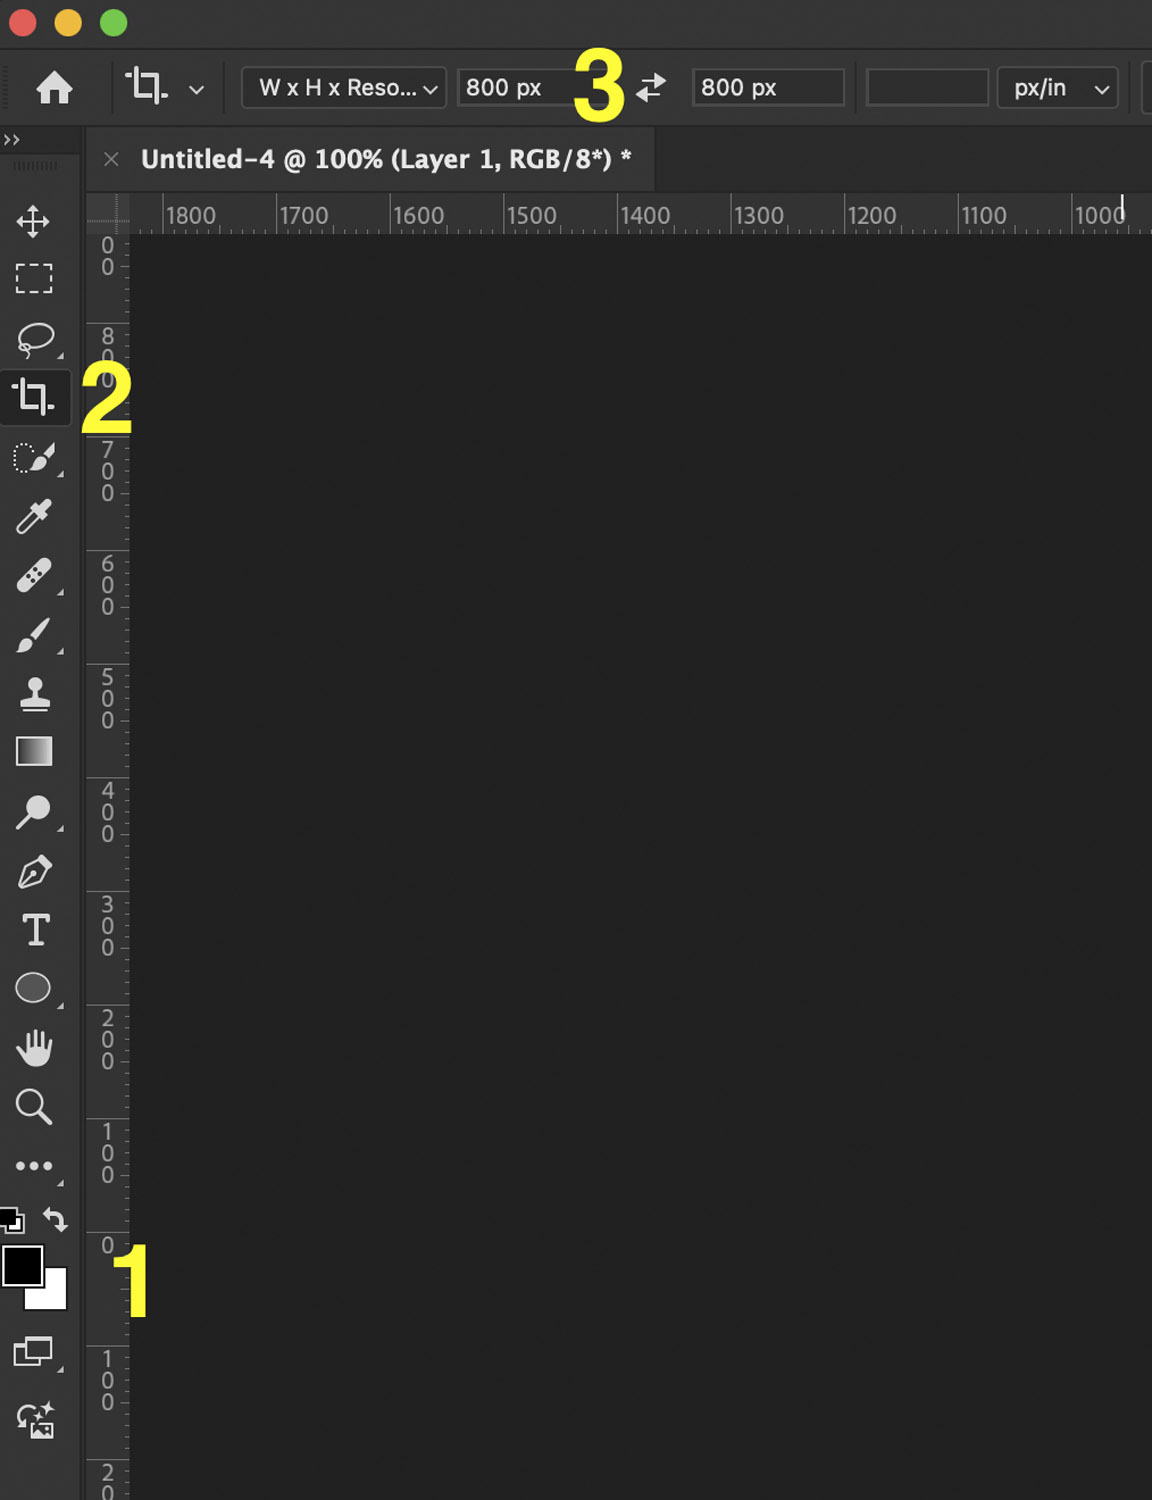
- Select the crop tool from the toolbar.
- Enter the final image sizes in the Width X Height dialogue in the application bar – in this case 1000px.
The crop tool greys out everything which will not appear in the final image. There are handles at the edges of the crop area. Drag these until the element you want in your final image is central and fills the frame fairly well.
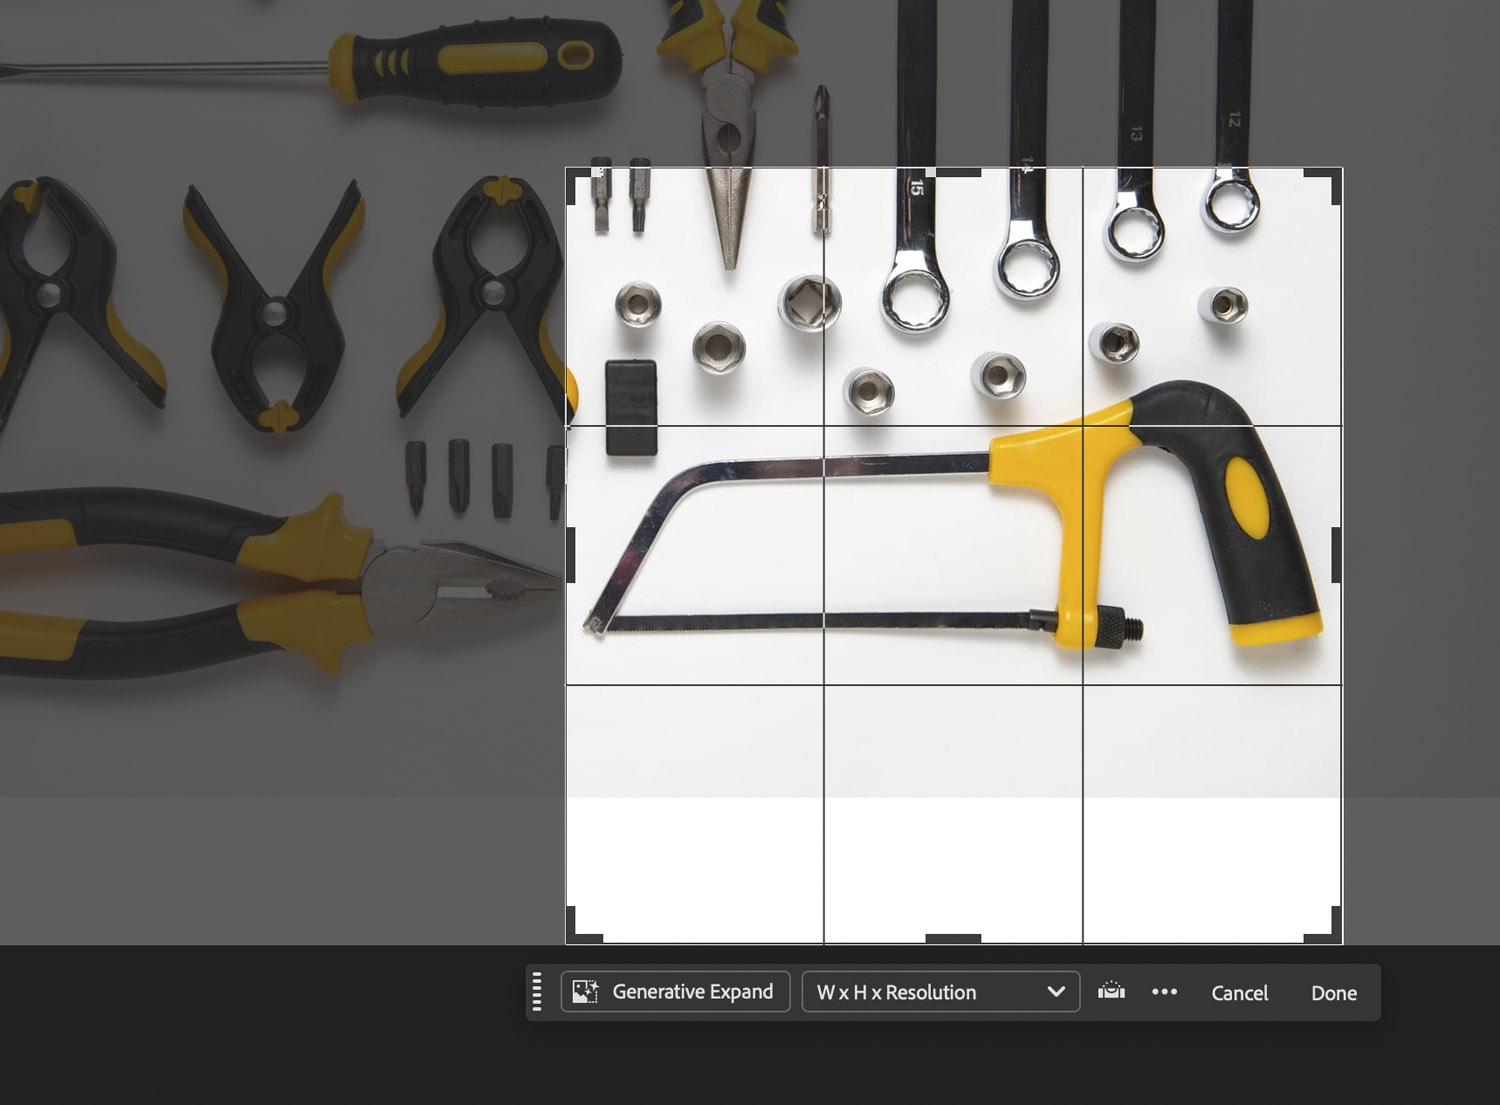
Hit Return twice to confirm the crop.
You should now have an image that looks something like this (the shadow is just to show the edge of the image.
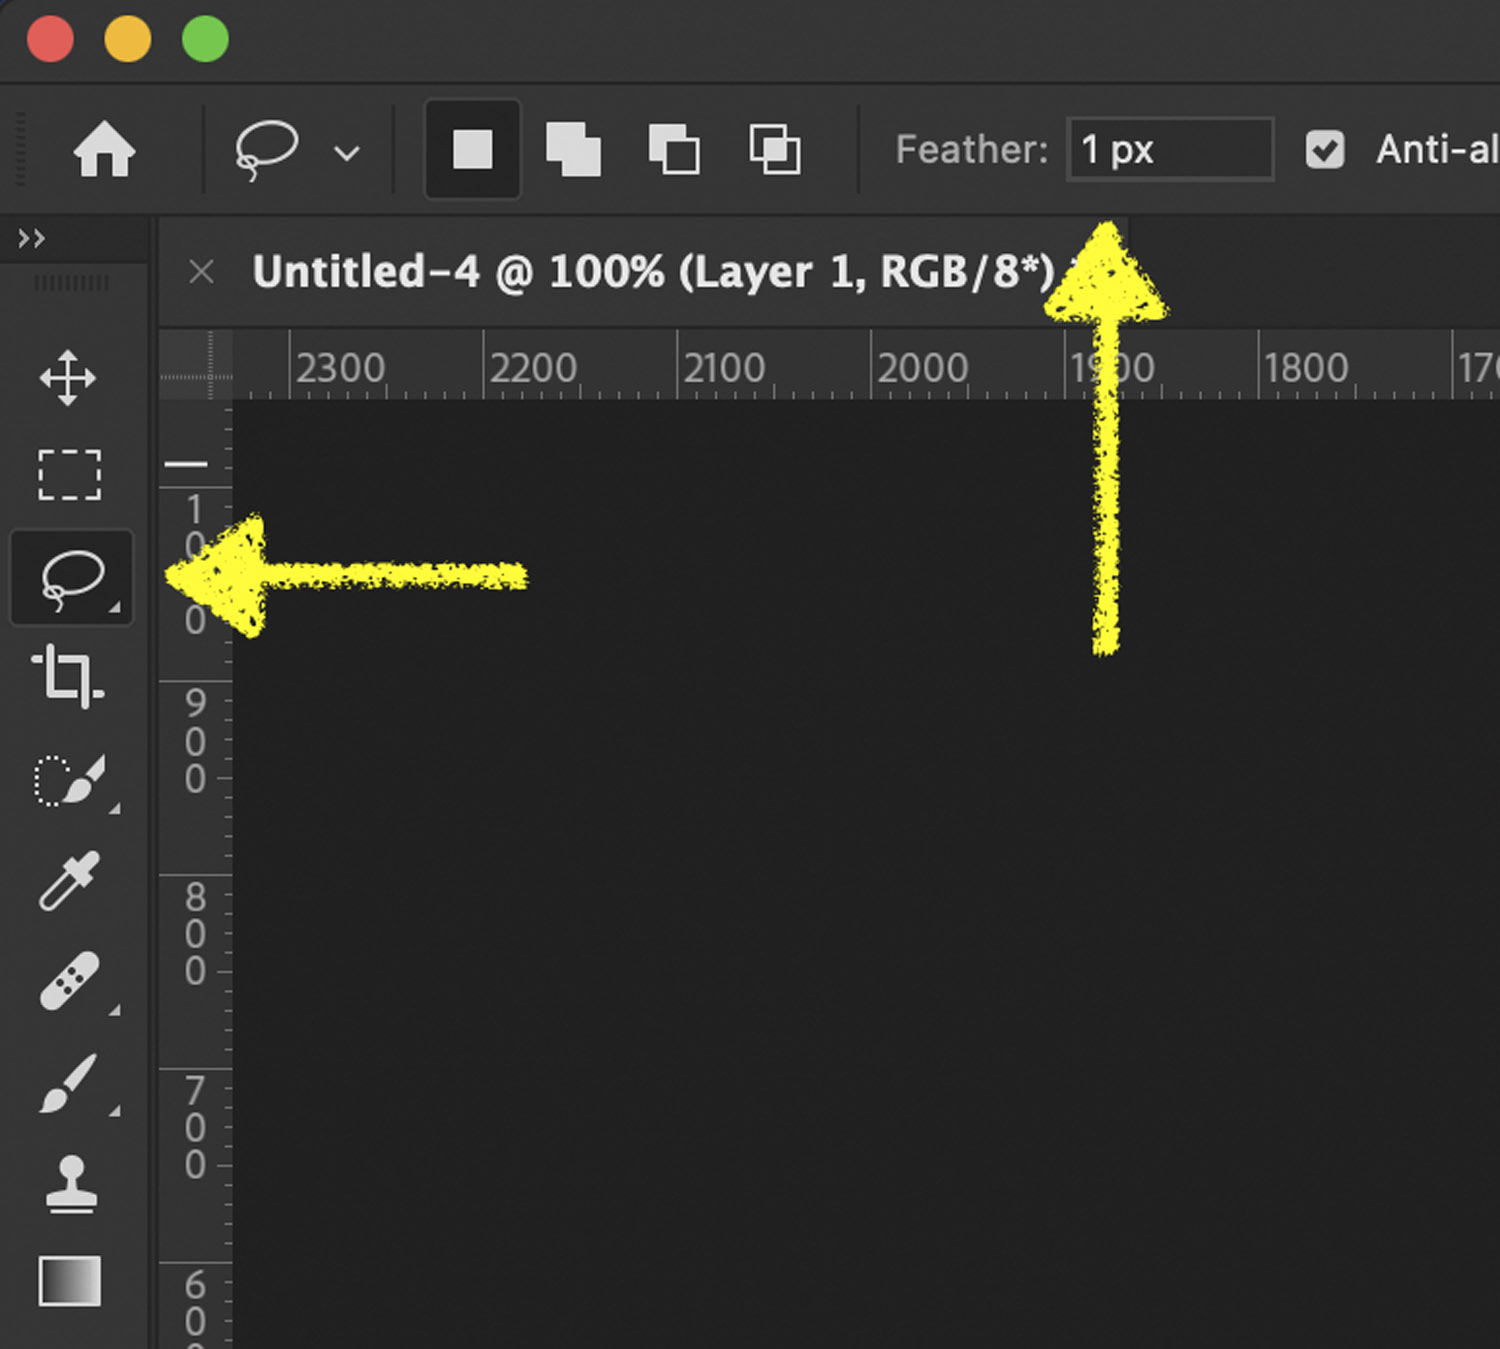
If, like here, there are elements close to the target object. Grab the lasso tool and enter 10 in the feather field. This will allow you to make a soft edged selection.
Using the lasso tool, draw around the object(s) you wish to remove and hit backspace to remove them. This tool can be fiddly, it is better to remove unwanted objects piecemeal rather than try to draw a complicated shape with a mouse.
Selections in photoshop are indicated by an animated dotted line. Once you have the shape you want – hit ‘backspace’ on the keyboard to delete the selected area.
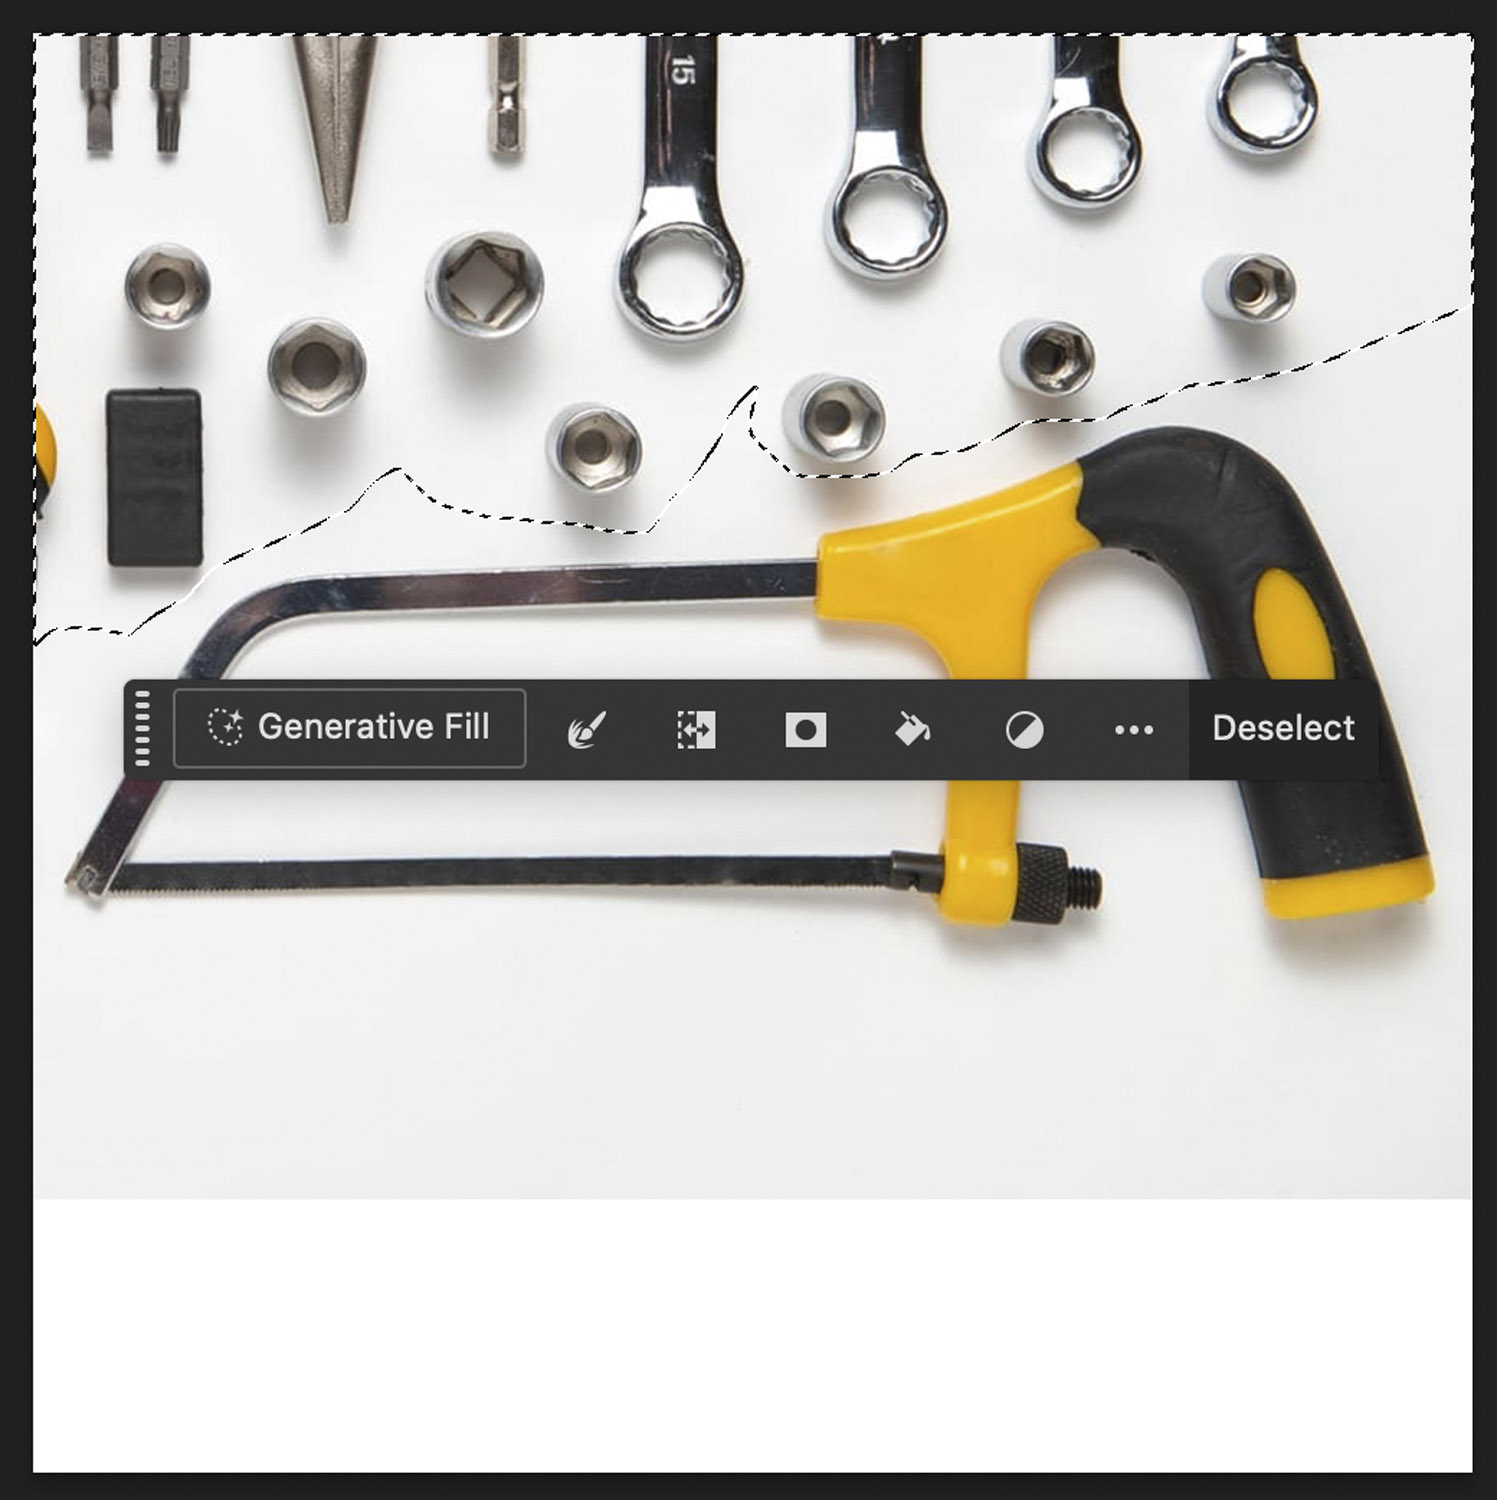
Do this until you’re happy there are no hard outlines from other elements in your images. Click anywhere on the image to remove the selection (or hit CMD + D).
Once you have no selection, the Remove background widget should appear below the image – click it.
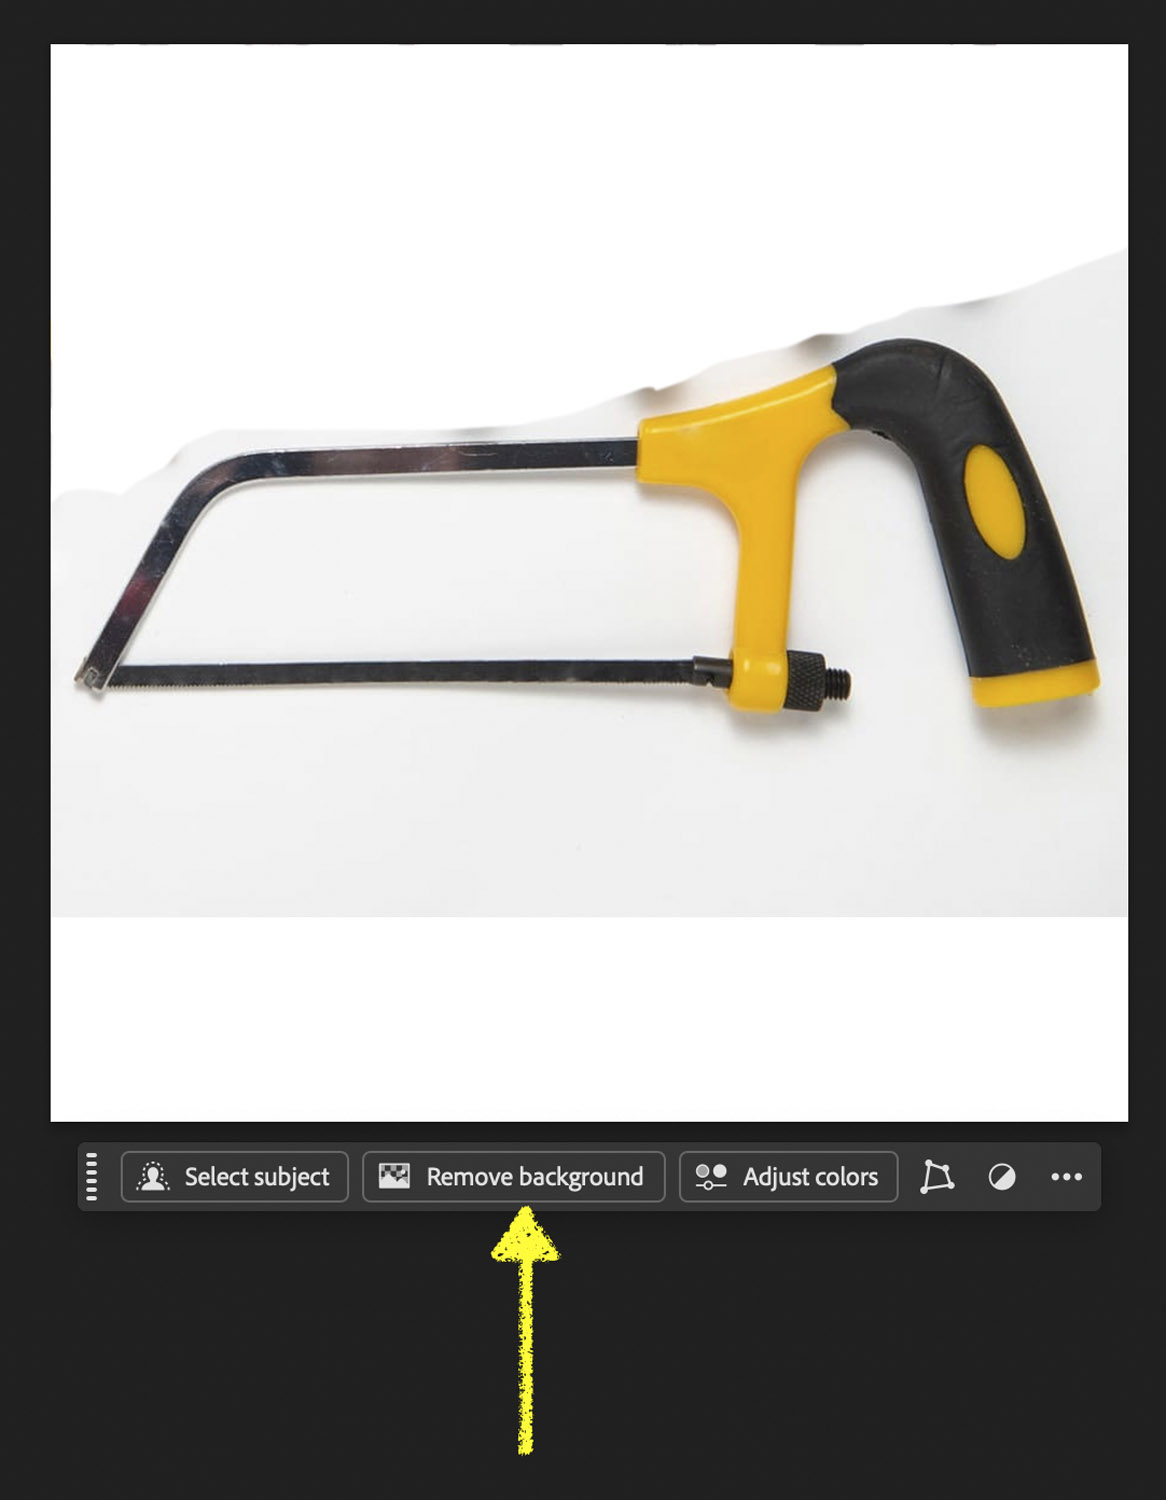
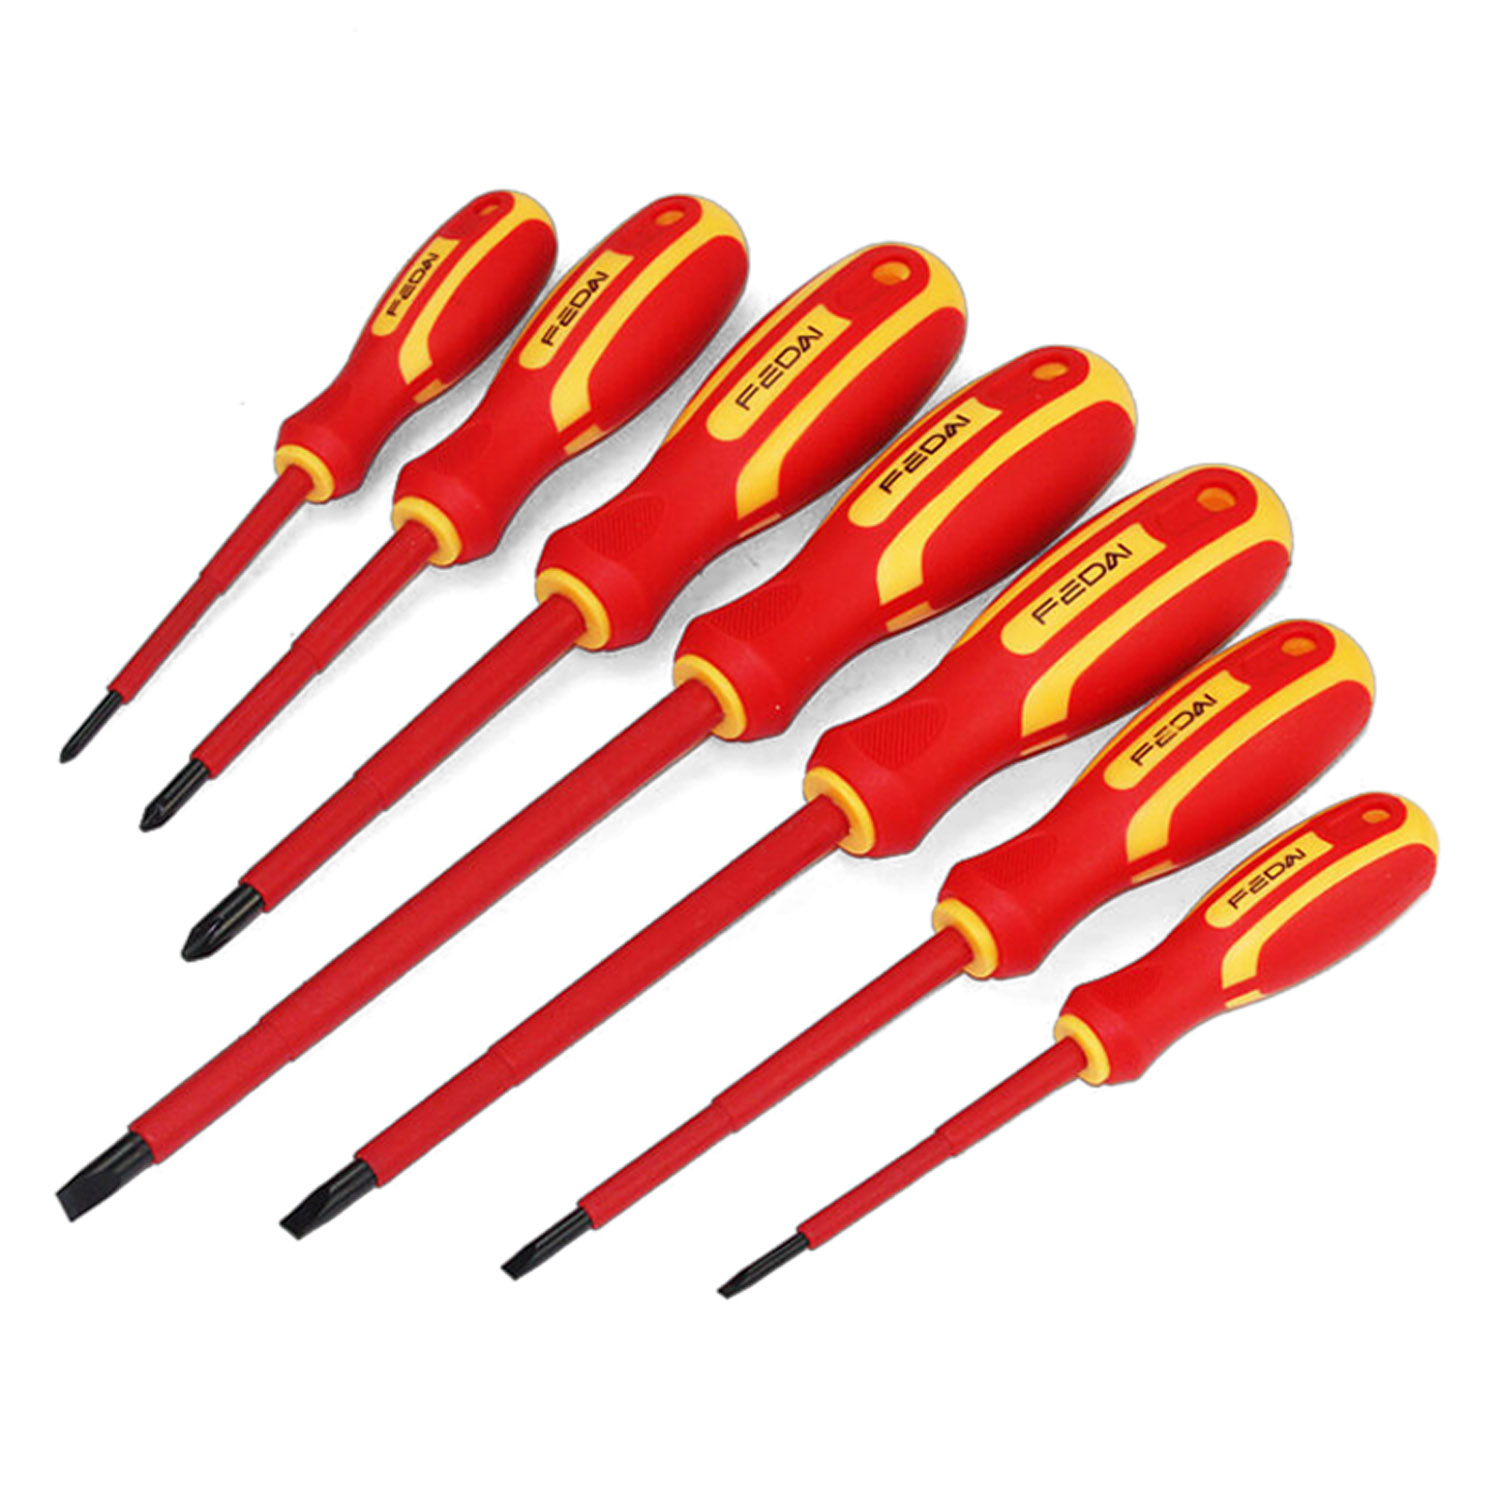
With luck, you’ll get an image like this – if this is good enough, head straight to the Saving the Image Out section later in this document.
Preserving the Shadow
Open the Layers window (from the Windows entry in the menu bar).
Right click on the layer with the image in it – in this case ‘Layer 1’ and duplicate it.
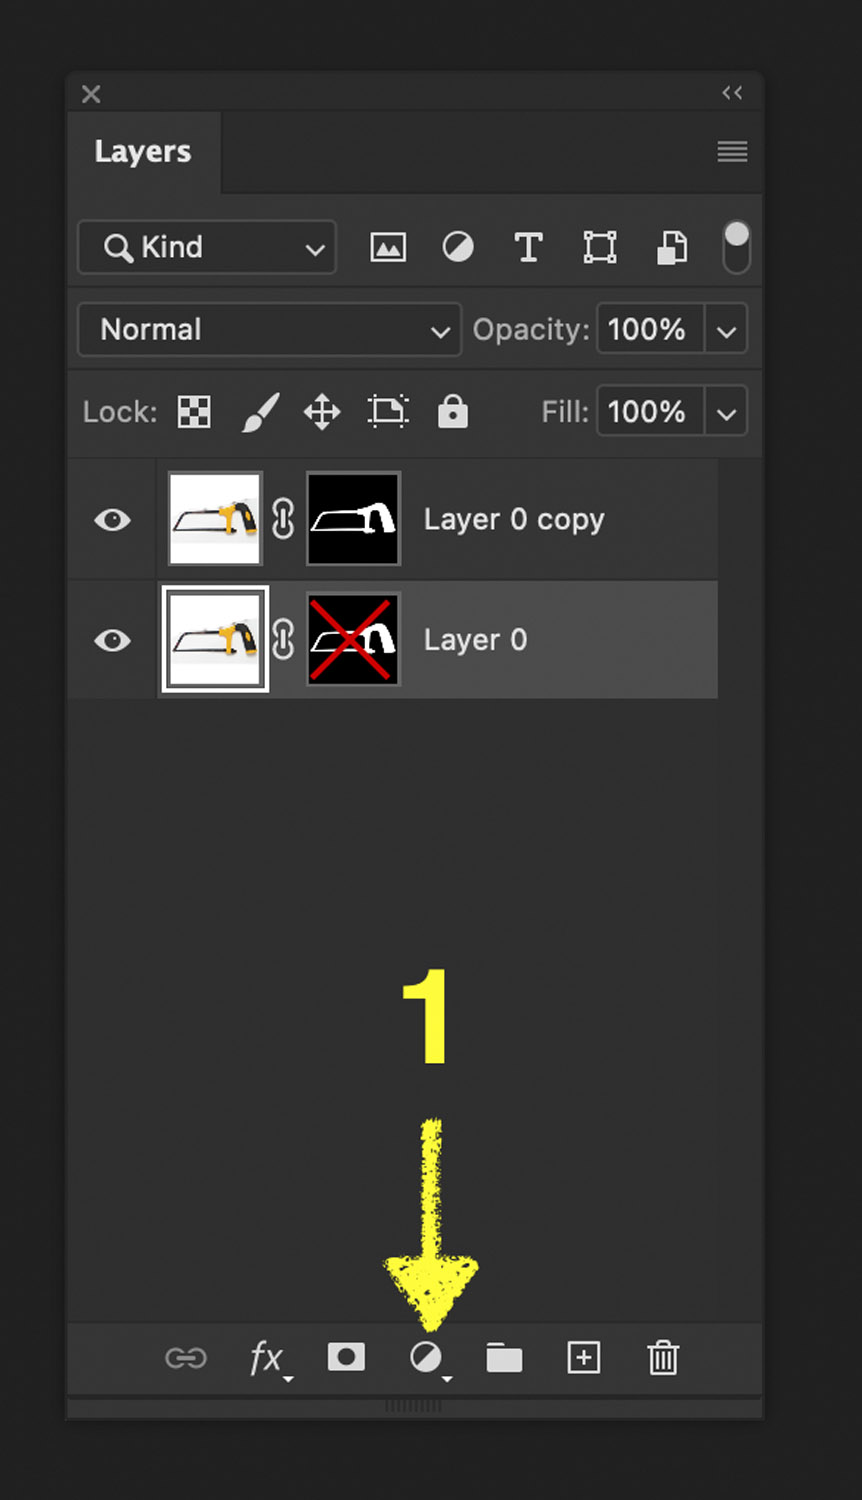
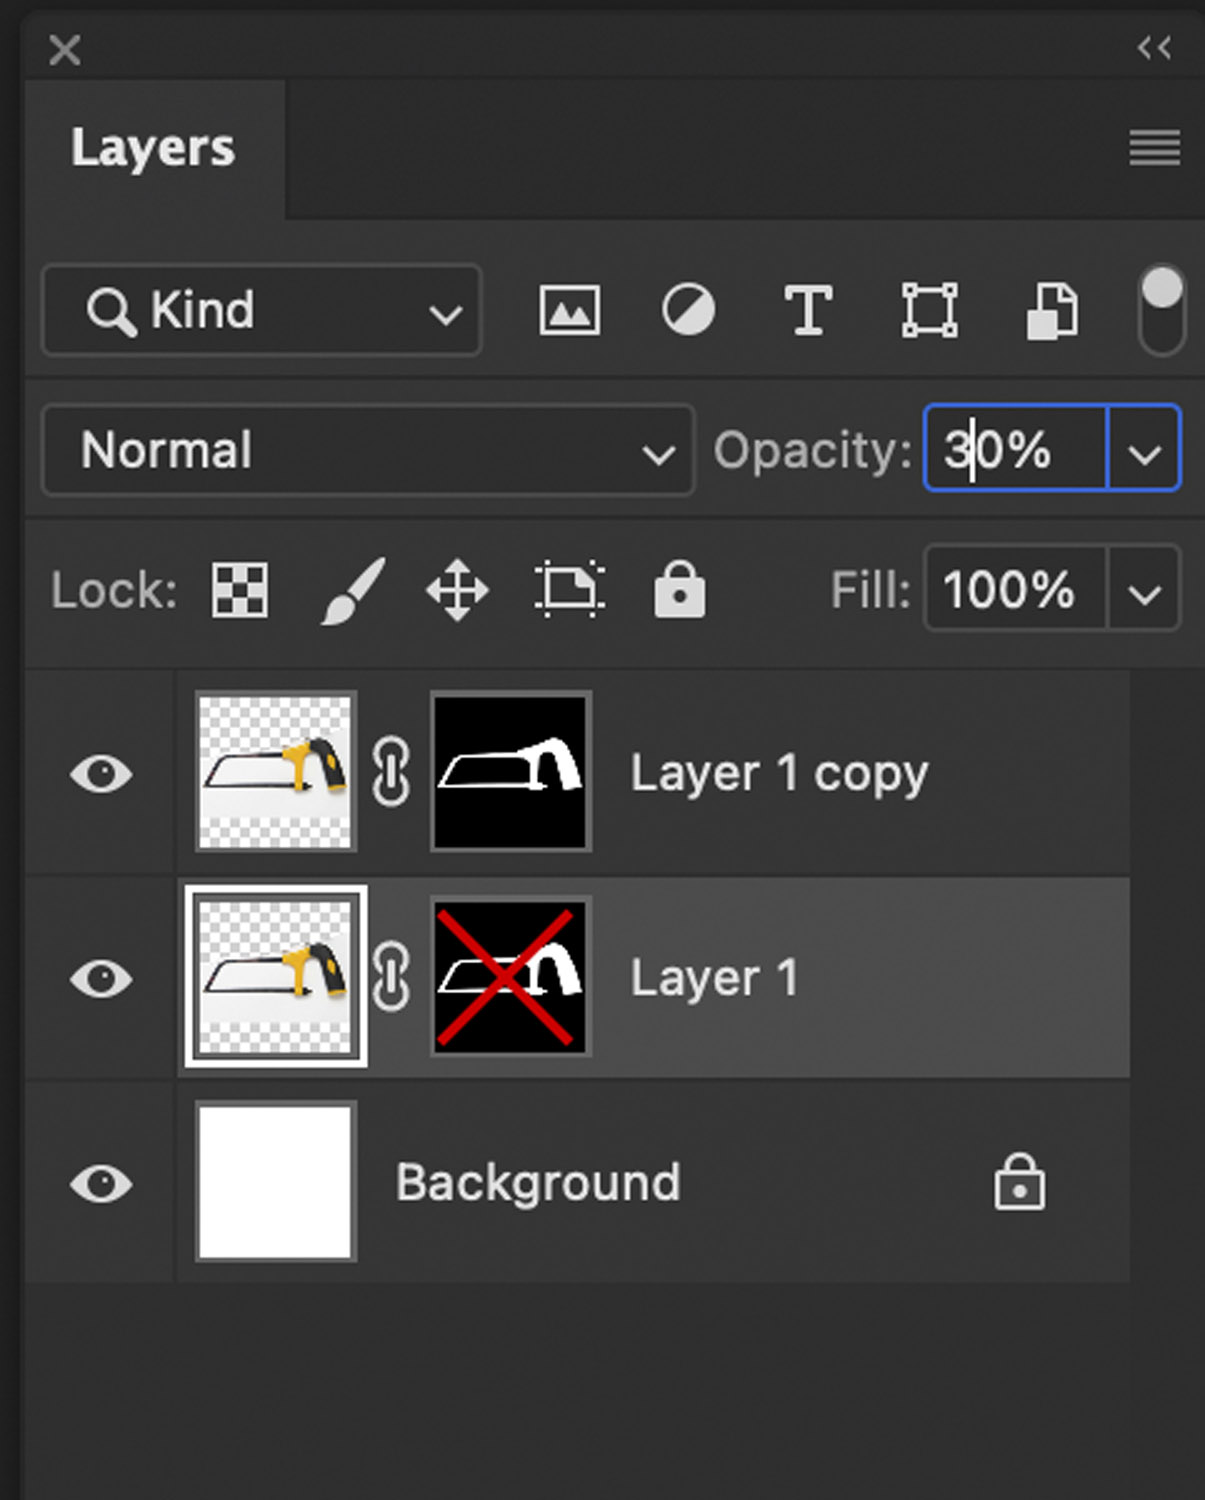
Shift + Click on the little B&W outline on the lower of the two image layers (in this case Layer 1). This will remove the cutout from the layer below. This will be the ‘shadow’ layer. The cutout of the object you want is preserved on Layer 1 Copy – you do not need to be too careful with the shadow layer.
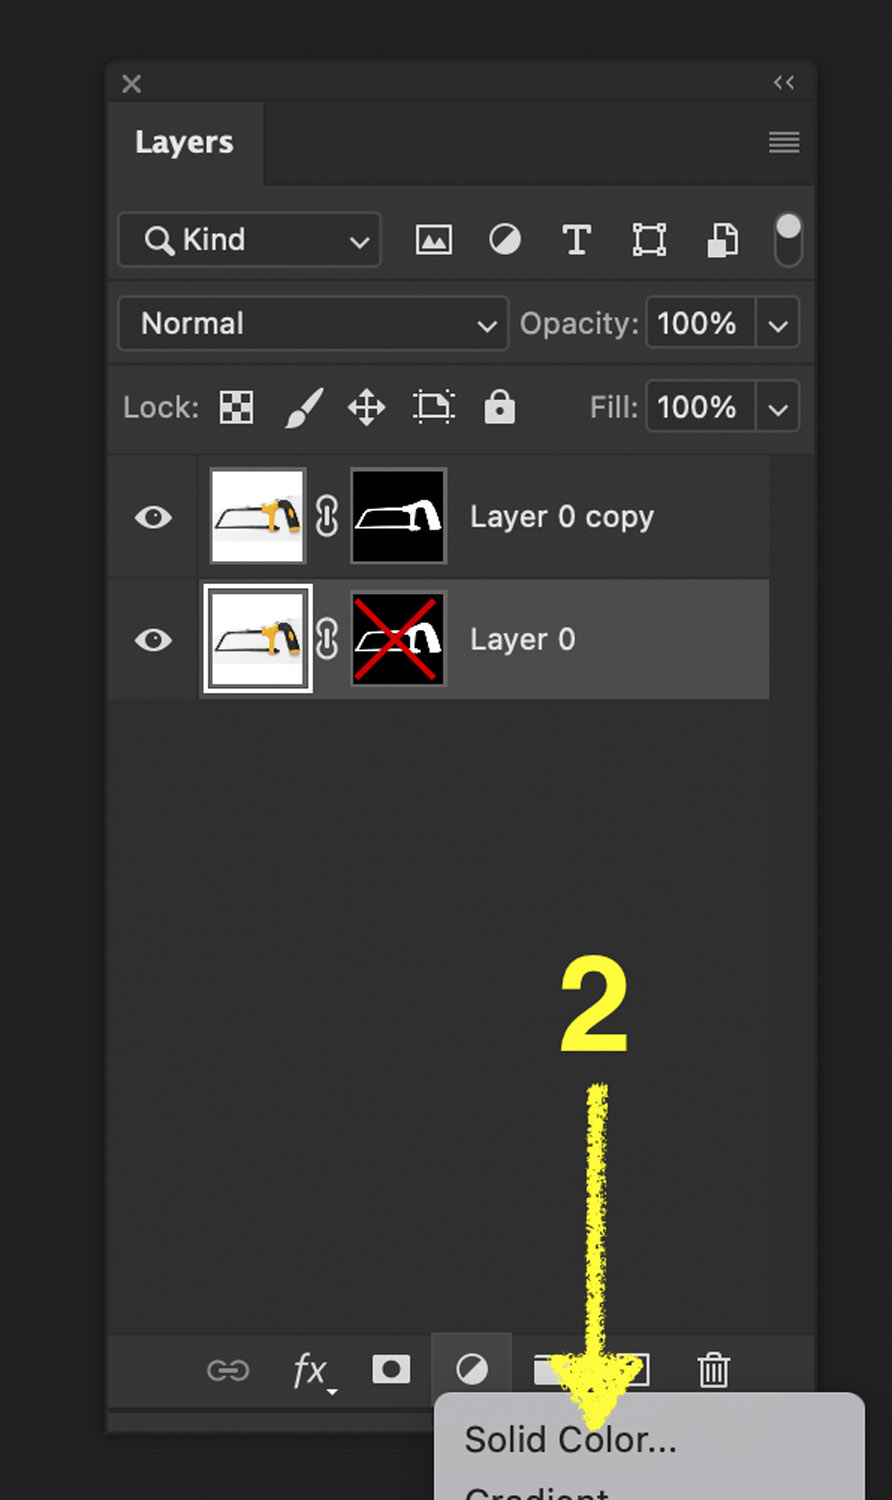
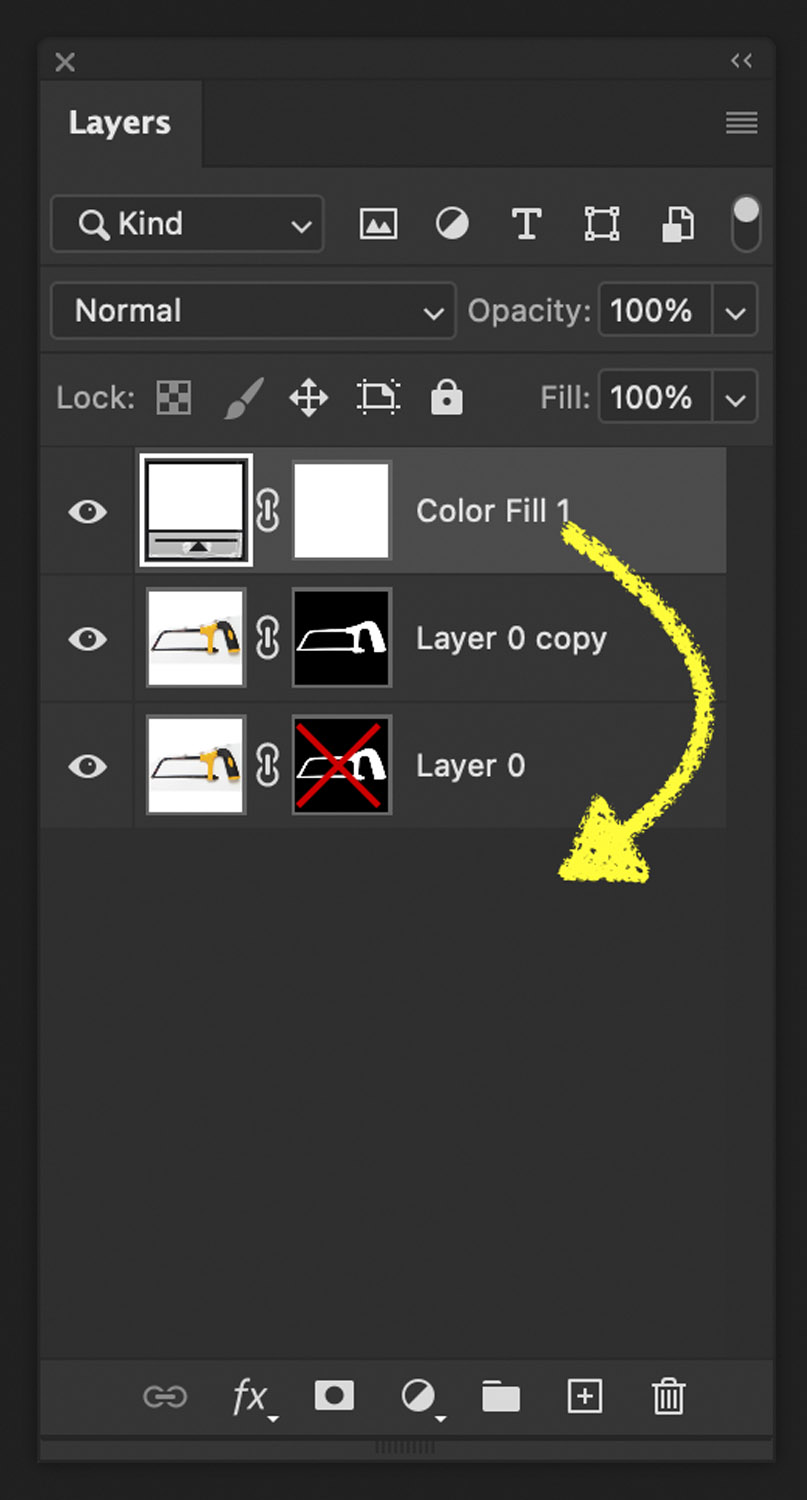
If there is no layer called ‘Background’, at the foot of the layers window (1), select add solid colour (2) – choose white from the next popup and drag the new layer to the bottom of the stack (3).
With the shadow layer selected, set the opacity to about 30%. This will make the shadow less deep.
Hit Cmd + Shift + ‘u’. This will remove any colour from the shadow.
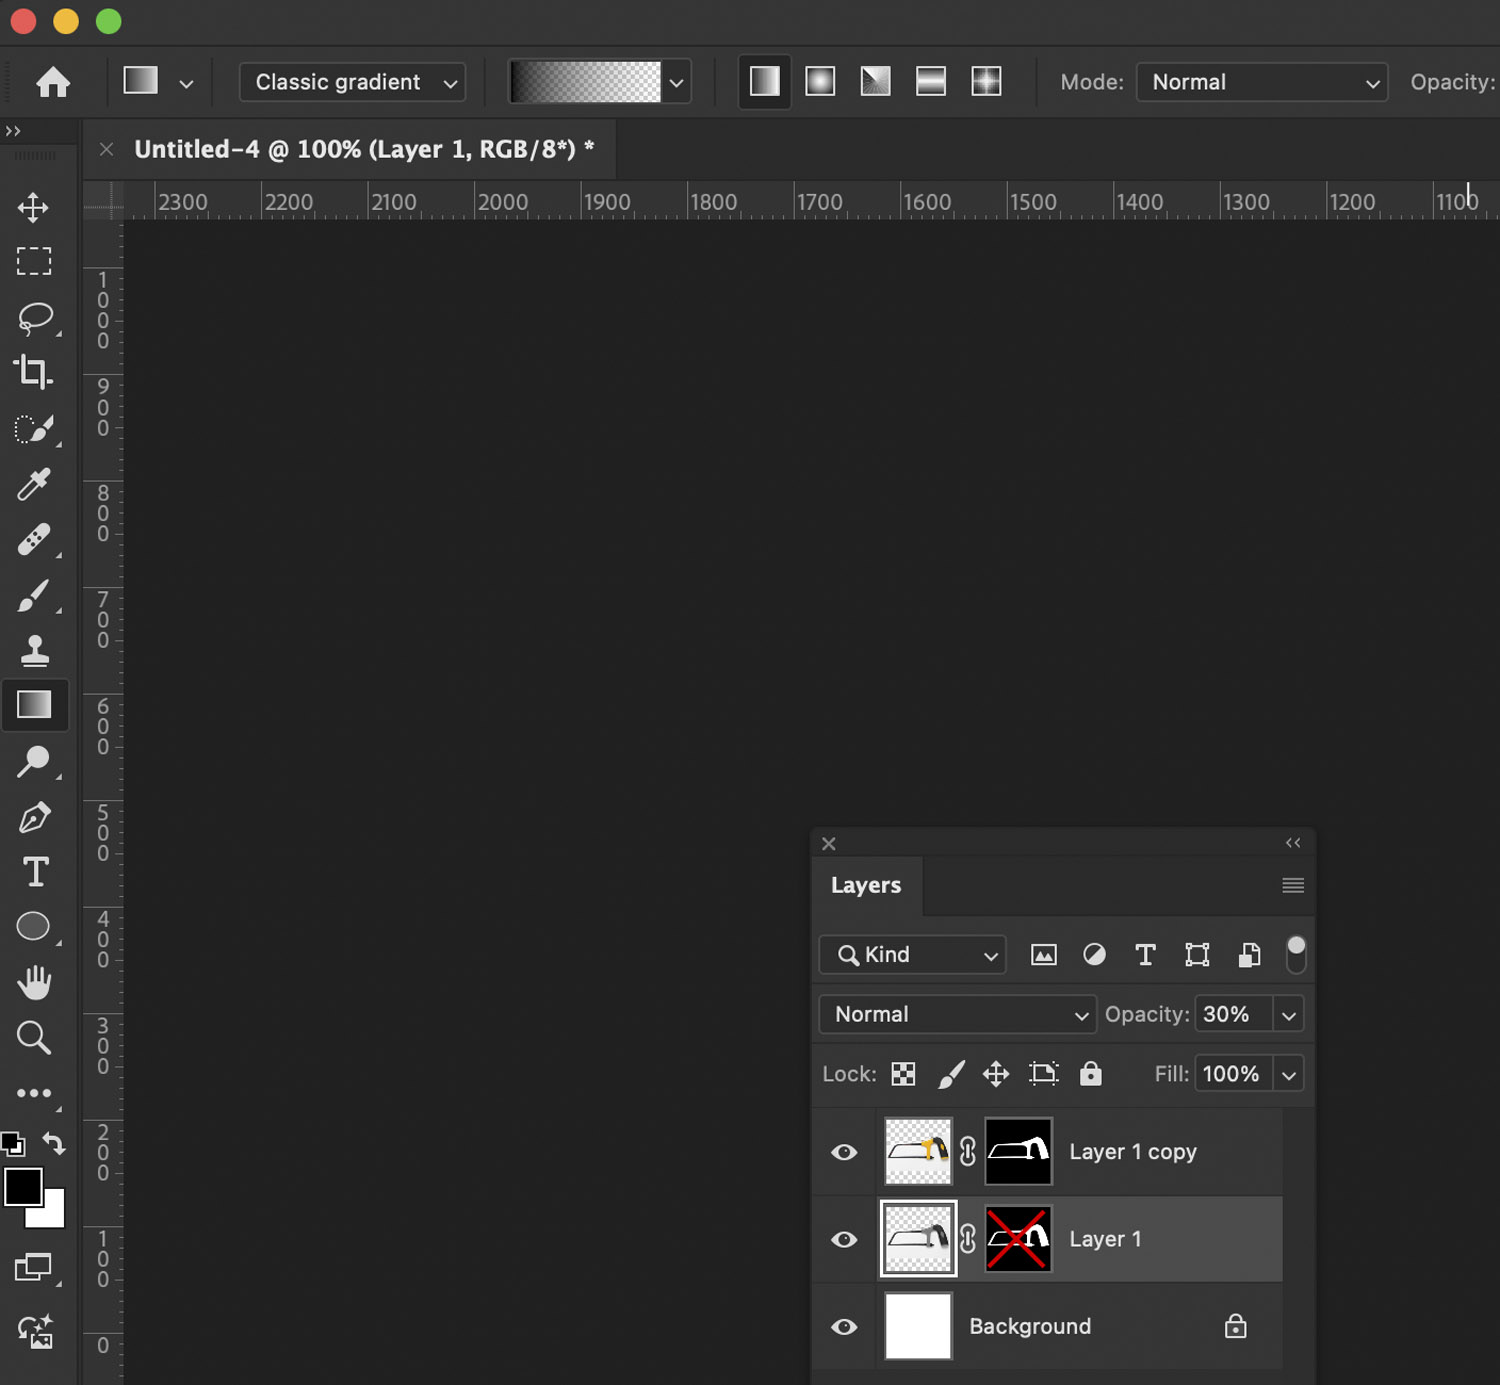
By now, your image should look something like this. All you need to do is clean up the shadow and remove any hard edges.
Hit ‘d’ on the keyboard to reset the foreground and background colours so that the top colour is white
- Select the gradient tool
- Select classic gradient from the type selector
- And set the gradient pattern by clicking the small preview icon
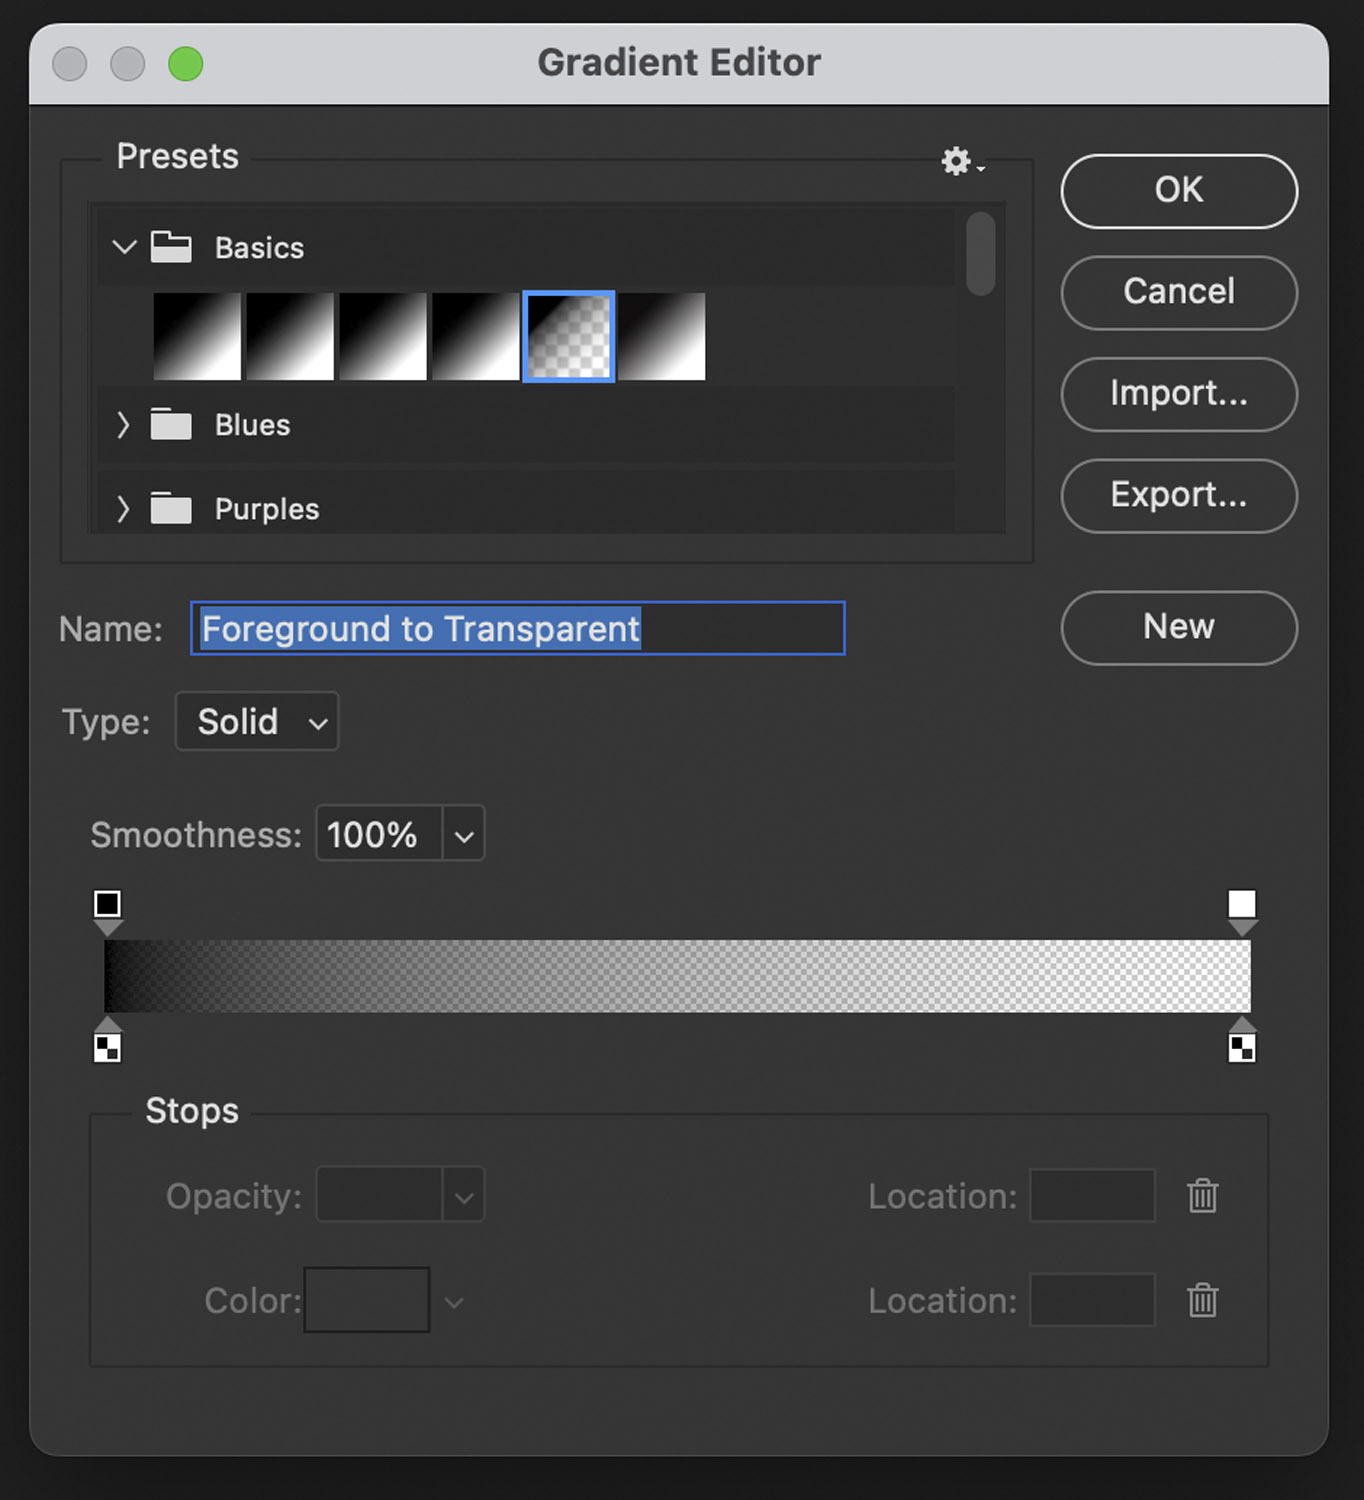
To select the right gradient – choose, Presets, Basics (1), Foreground to background (2) and click OK.
From the edge of the image (or from any hard edge). Use the gradient tool to fade in from white to transparent. Use ‘shift’ to ensure the fade is always perpendicular to the edge of the image.
By now you should have an image like this:

To remove anything unwanted from the shadow layer. Hit ‘d’ again to reset the colours (so the background is white again) and use the lasso (‘l’) tool and backspace to remove elements from shadow layer.
Saving the Image Out
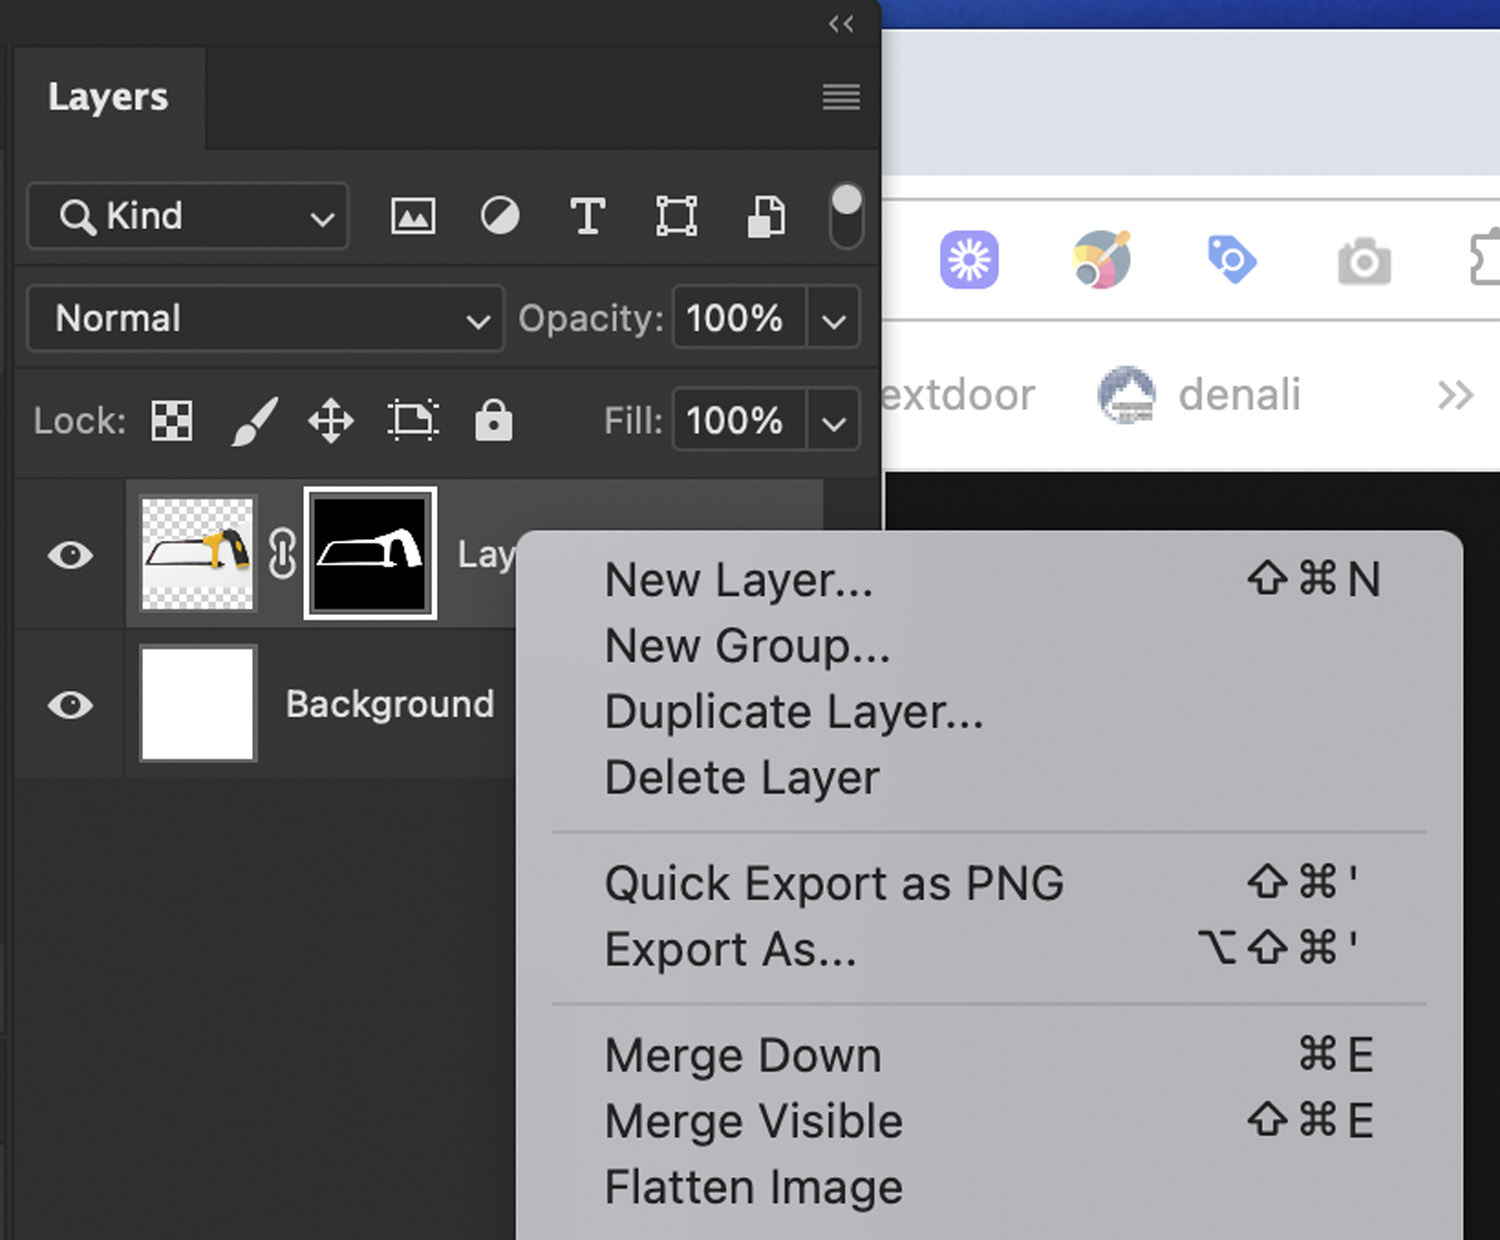
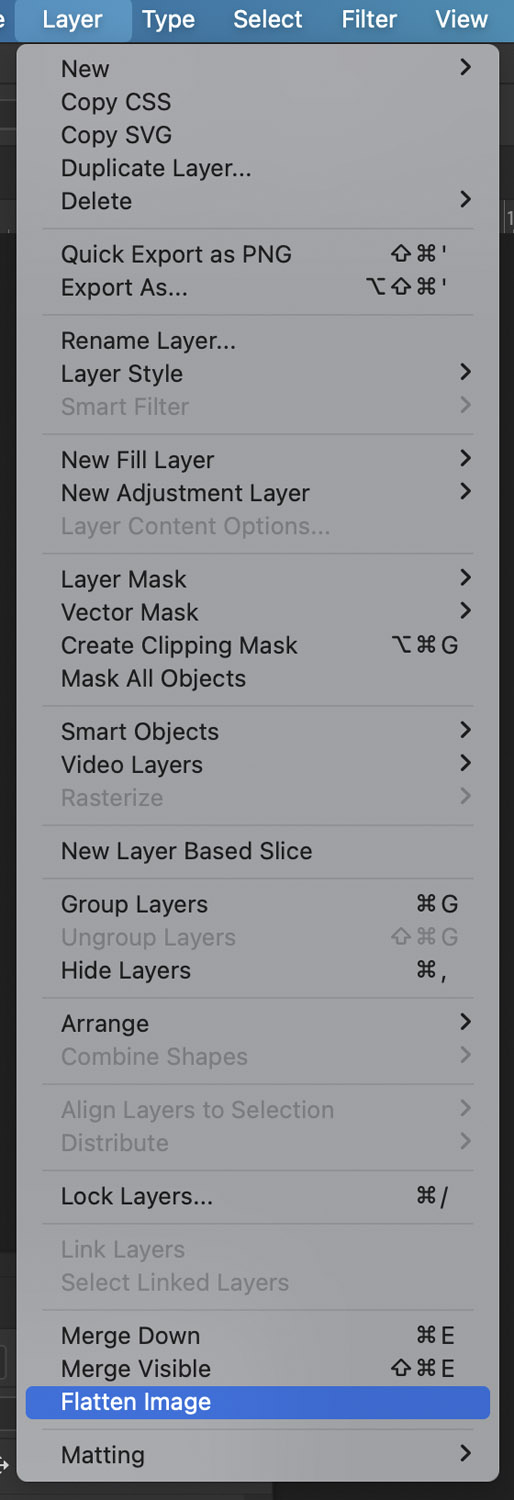
From the layer menu, select flatten image:
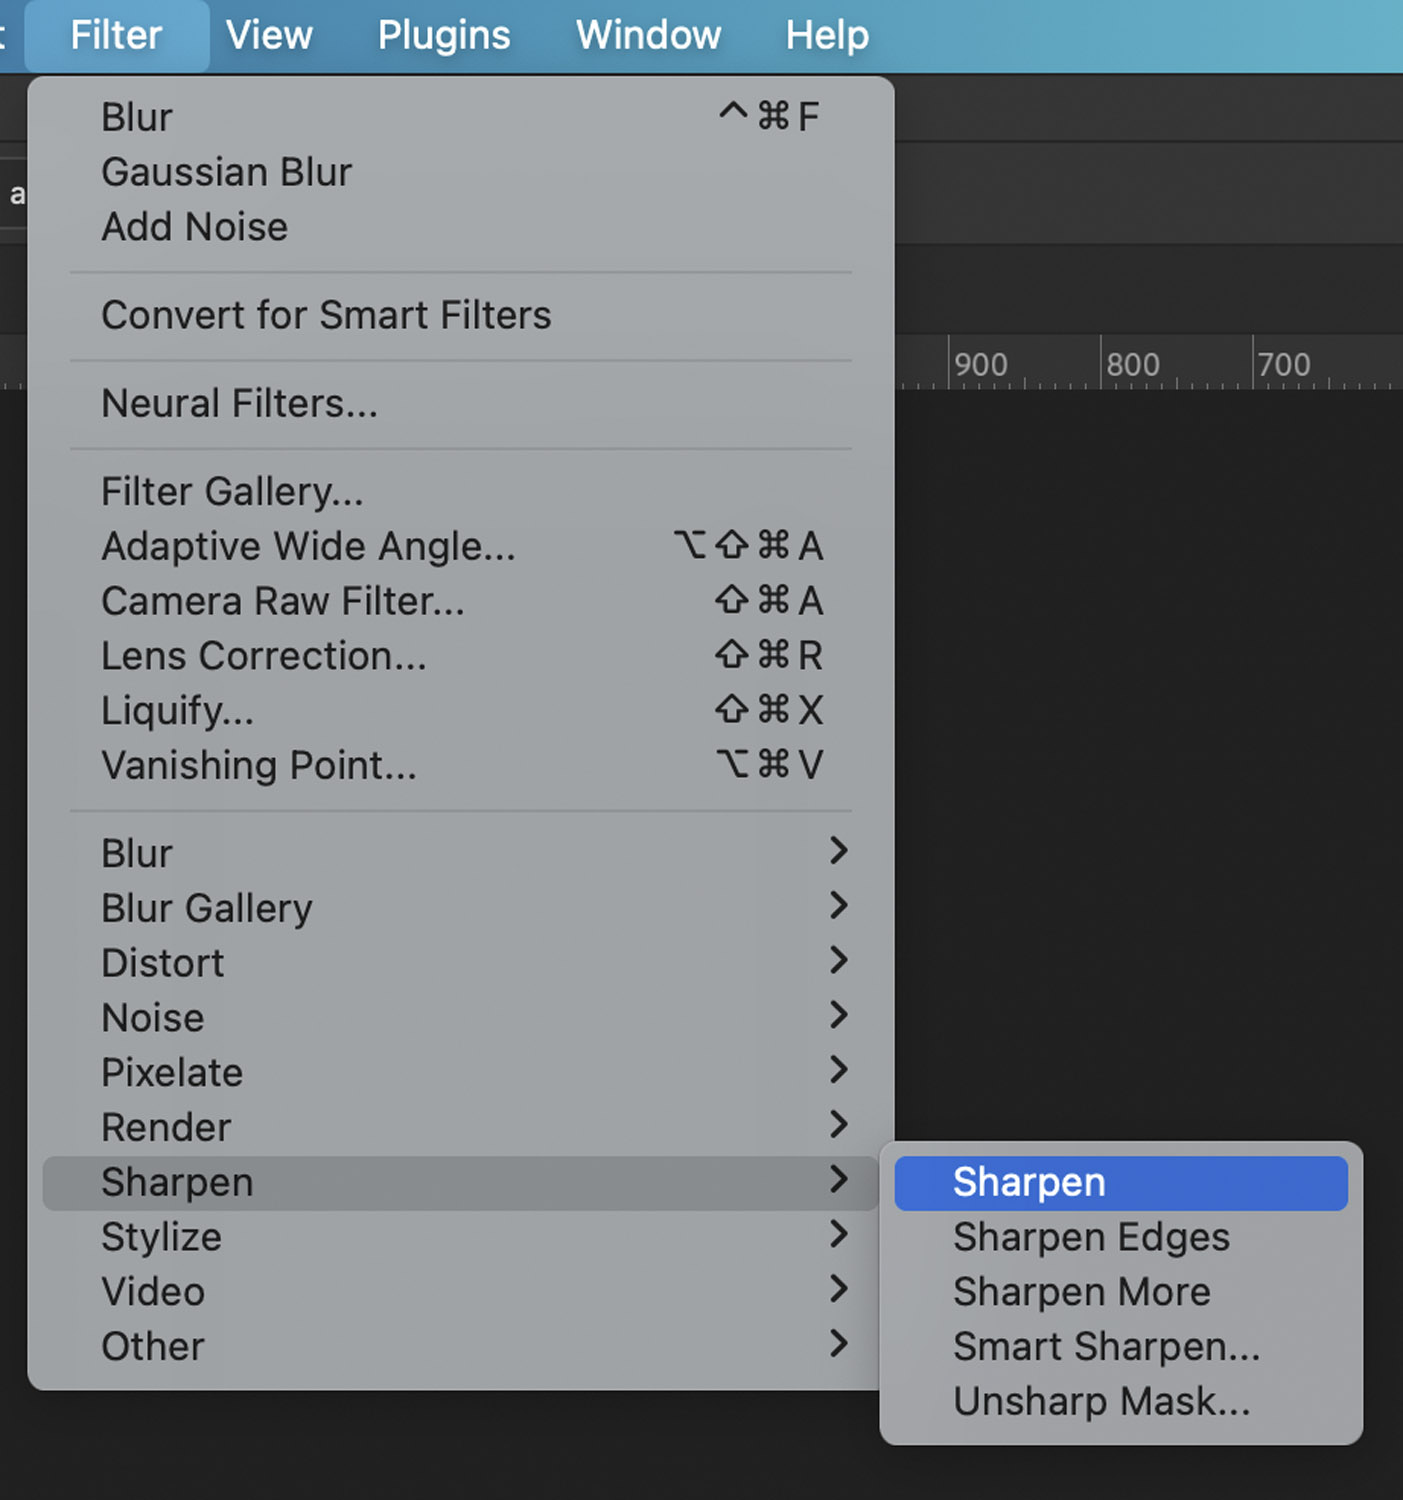
Most images need to be sharpened a bit before they go online so apply sharpen from the filter menu:
That’s it!
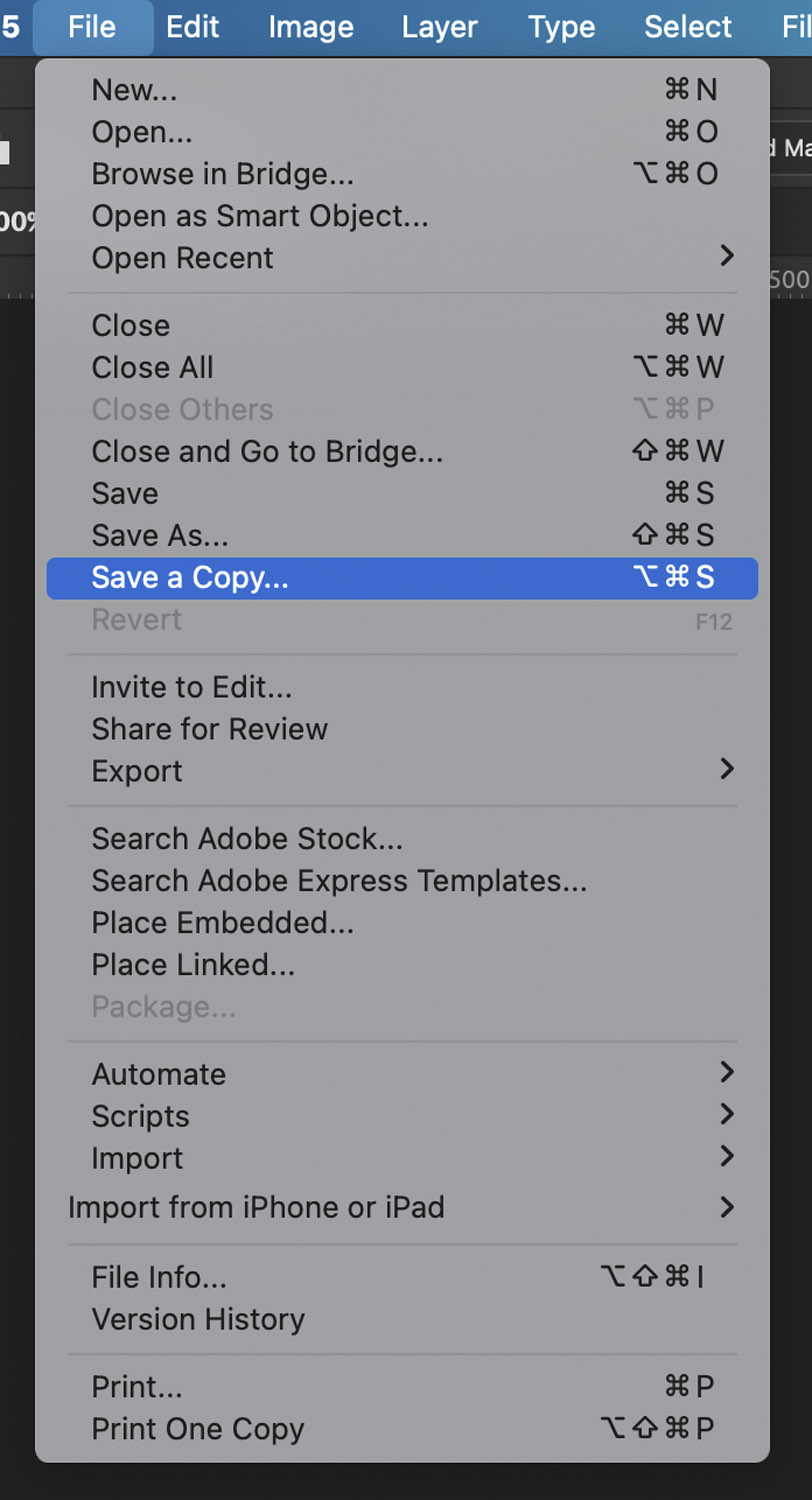
Save a copy of the image – save it with a sensible name without spaces or special characters. The best file format for photos on the web is .wepb
Close the image, you do not need to save it.
Or, For Those of You Lazy of Reading
Here’s the whole thing on video.
If That Looks Complicated
Don’t be deterred, there are a lot of steps but, with practice, they soon become second nature. Cutting out a product image in Photoshop may be a key skill – but with practice it can be completed fast.
Or you can contact Little Fire … can we fix it? Yes we can.